speckled carrot cake (vegan)

Speckled carrot/beetroot/vegetables cake, vegan

Who doesn’t know me has never sustained my attempts to enrich my vegetable cakes… with results I must admit from discouraging to uninteresting. Vegetables are full of water and often not enough tasty for pastry. Solution is simple indeed : you’ve got to realise a “speckled” cake ! 🙂

But what is a speckled cake ? That’s a cake realised with dried vegetables ! This give the cake a splecked appearance ! (idem for salted cakes)

2015-04-26 08.25.20

Carrot and nuts cake

So, here’s a cake with almost 200% more carrots ! And if I’m not wrong, 20% less fat (you can go to 40% with no nuts ^^), and contains 4 times more fibers !

Ingredients :

  • 400g grated raw carrots or beets (or…)
  • 100g crushed walnut kernels (with beetshazelnuts)
  • 100g flour
  • 100g sugar
  • 100g oil
  • 100g soy yogurth (or silken tofu)
  • 1 packet of baking powder
  • 2 teaspoons cinnamon (classical) or nutmeg (more “virile”), or some mix you like !

Preparation :

  1. Carrots dehydratation :
    1. If you have time and a drier, do it ! 😀
    2. If you have an oven, 120°C, 2 to 3h
    3. When carrots are dry, they are ready ! (somewhere between 65g and 100g, no need to weigh)
  2. Mix all ingredients in a bowl

Baking :

180°C, 1 hour, let cool before unmolding

2015-04-28 10.46.50

2015-04-28 10.42.25 Beetroot and hazelnuts cake

Yogurt, sour cream and butter

Here we are. Exit false creamery, let’s taste some real vegetable’s yogurt, sour cream and butter !

How to ? As real ones : with microflora ! That’s it that will give the nut’s taste, as for animals butter. A mastered flora will always be a non-pathogenic flora, I invite you to choose an industrial one (EDIT!) 🙂

So, have a start wiyh yogurth. I’ve often read that it’s not possible with nuts milks. Hey! Well, read here the contrary, it is possible and even much better ! Why? Simply because in vegetable preparations, it is time to put to curdle (tofu is a great product to do this), but never to ferment (yoghurt, fresh cheese, cream) or .. . to refine (cheese)!
Moreover regarding cheeses, I let you go find my other article (still in preparation, as the ripening time is long!), A little patience!

Vegetal/Vegan yogurth

Yogurt ingredients (and utensils):

  • Probiotic (industrial, check that it is not just animal milk …!)
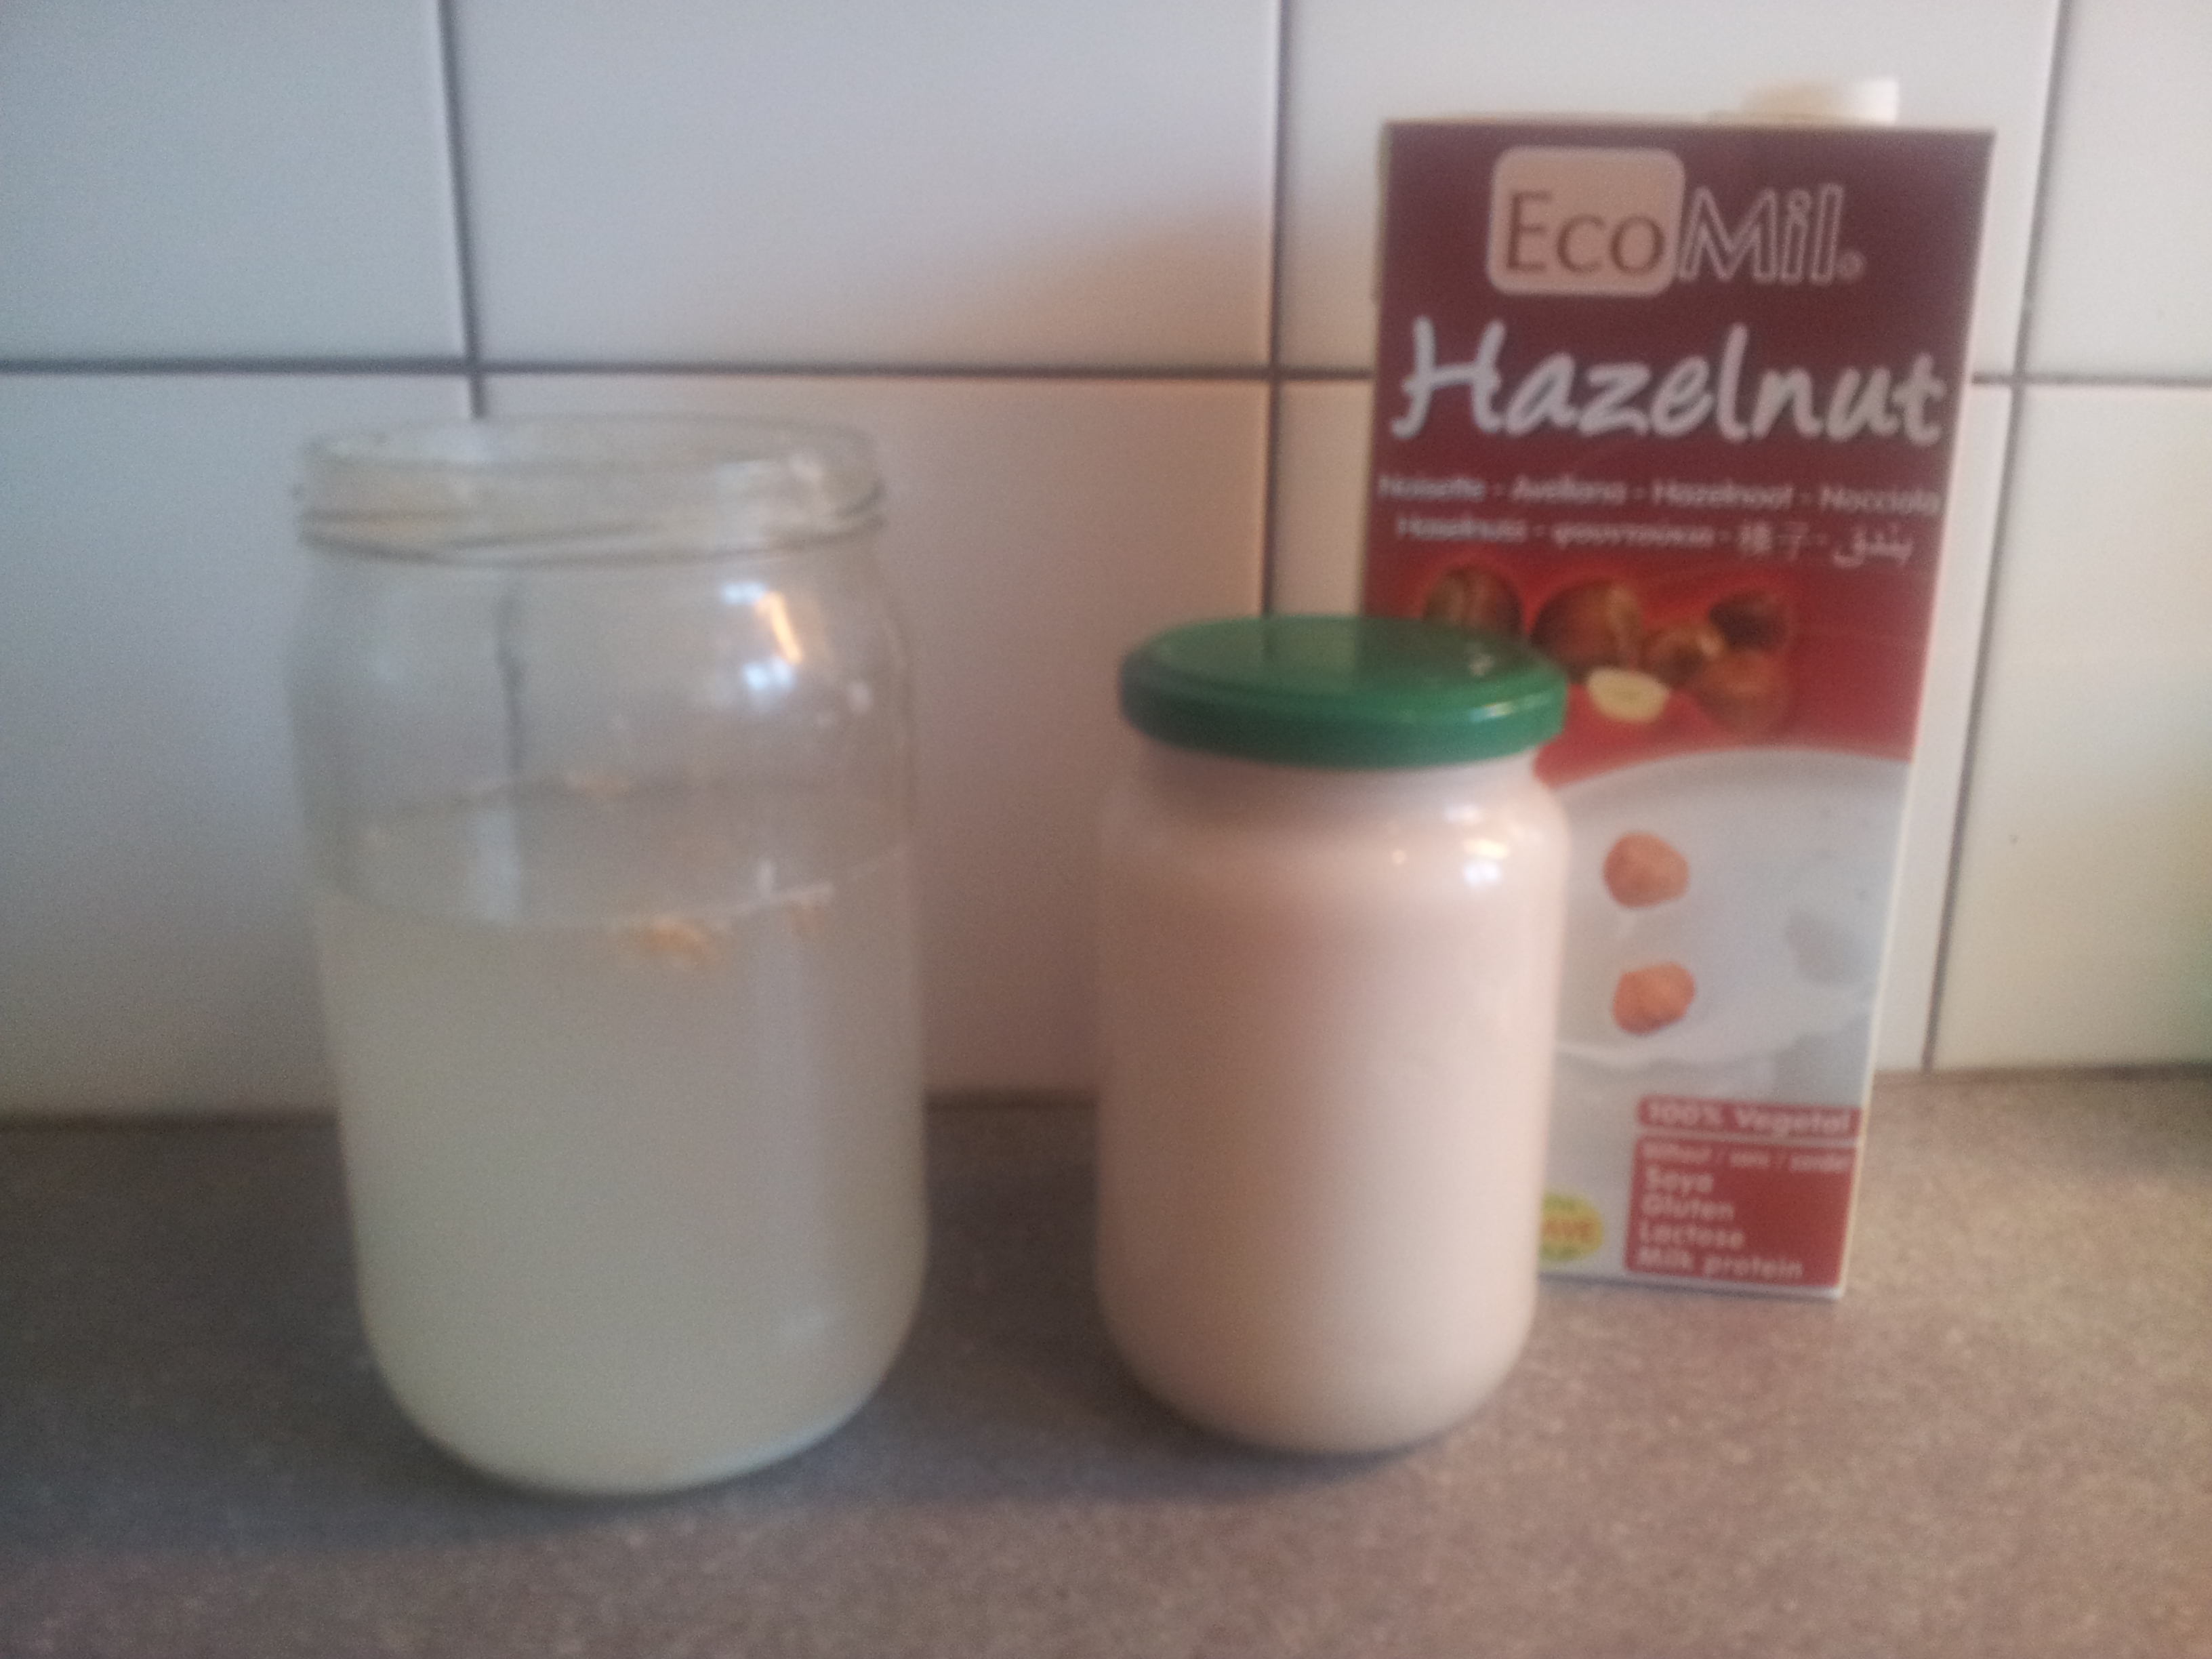
  • Milk (here nuts)
  • A jar, airtight

Steps:

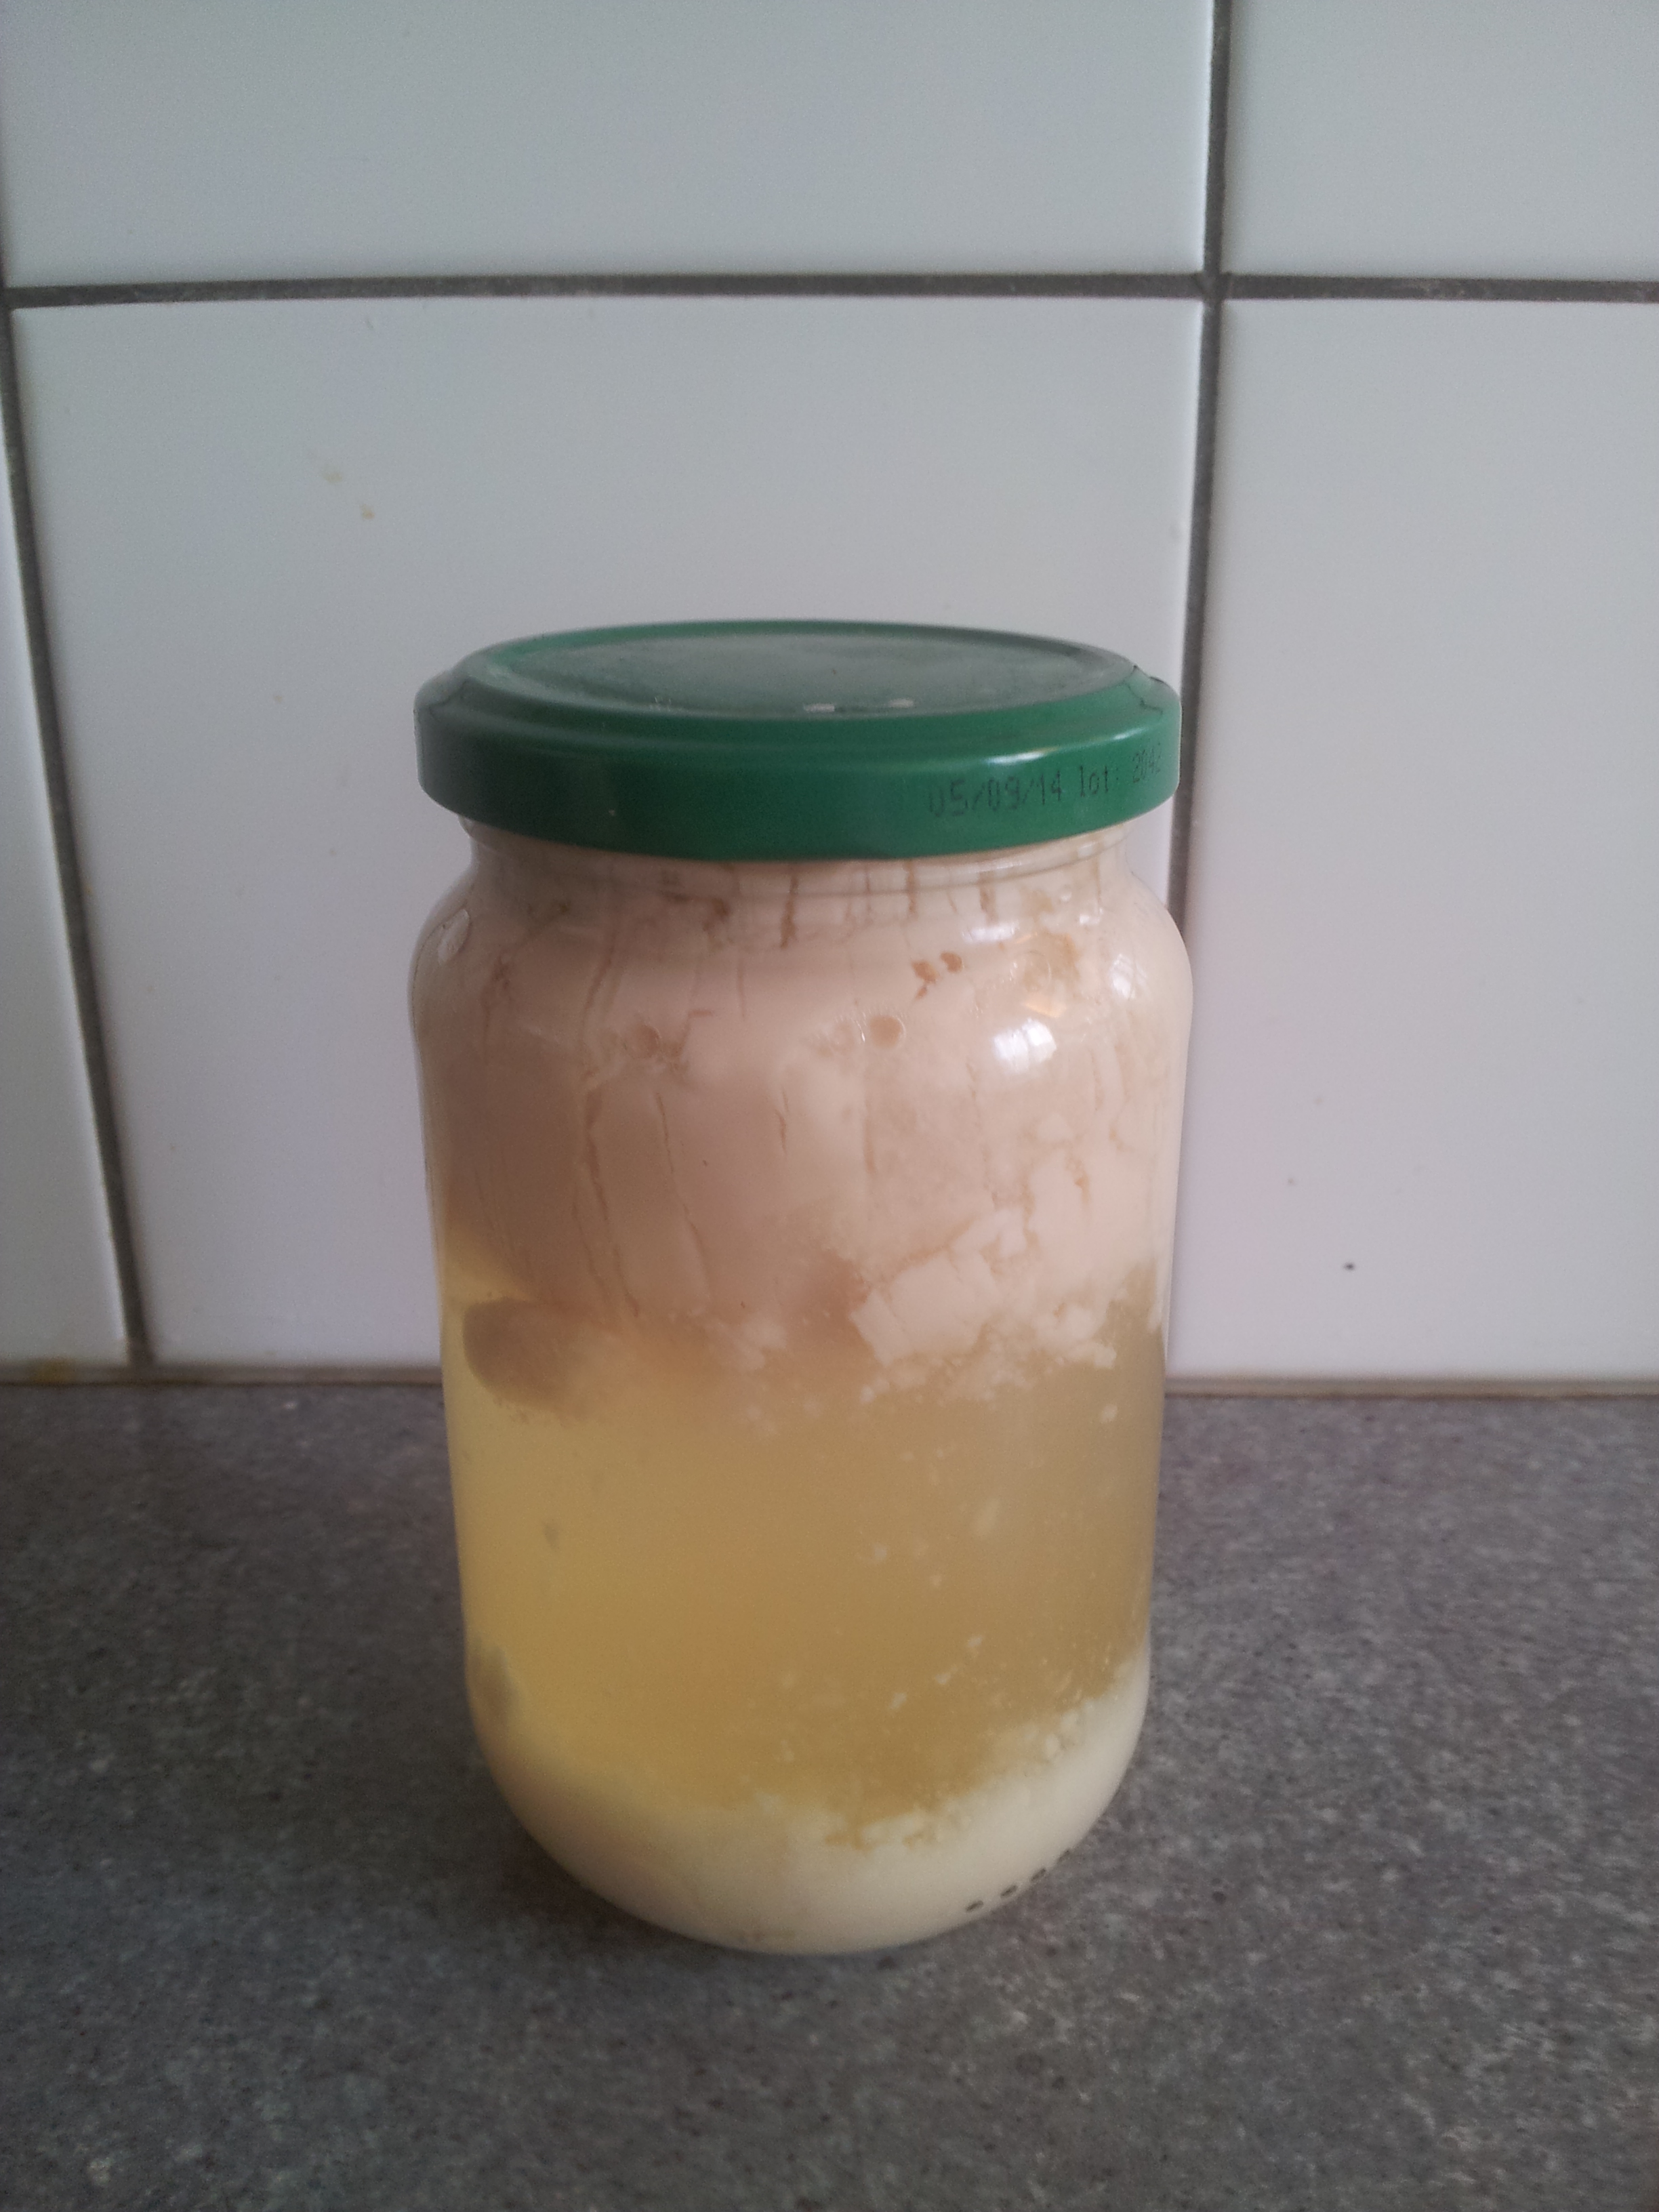
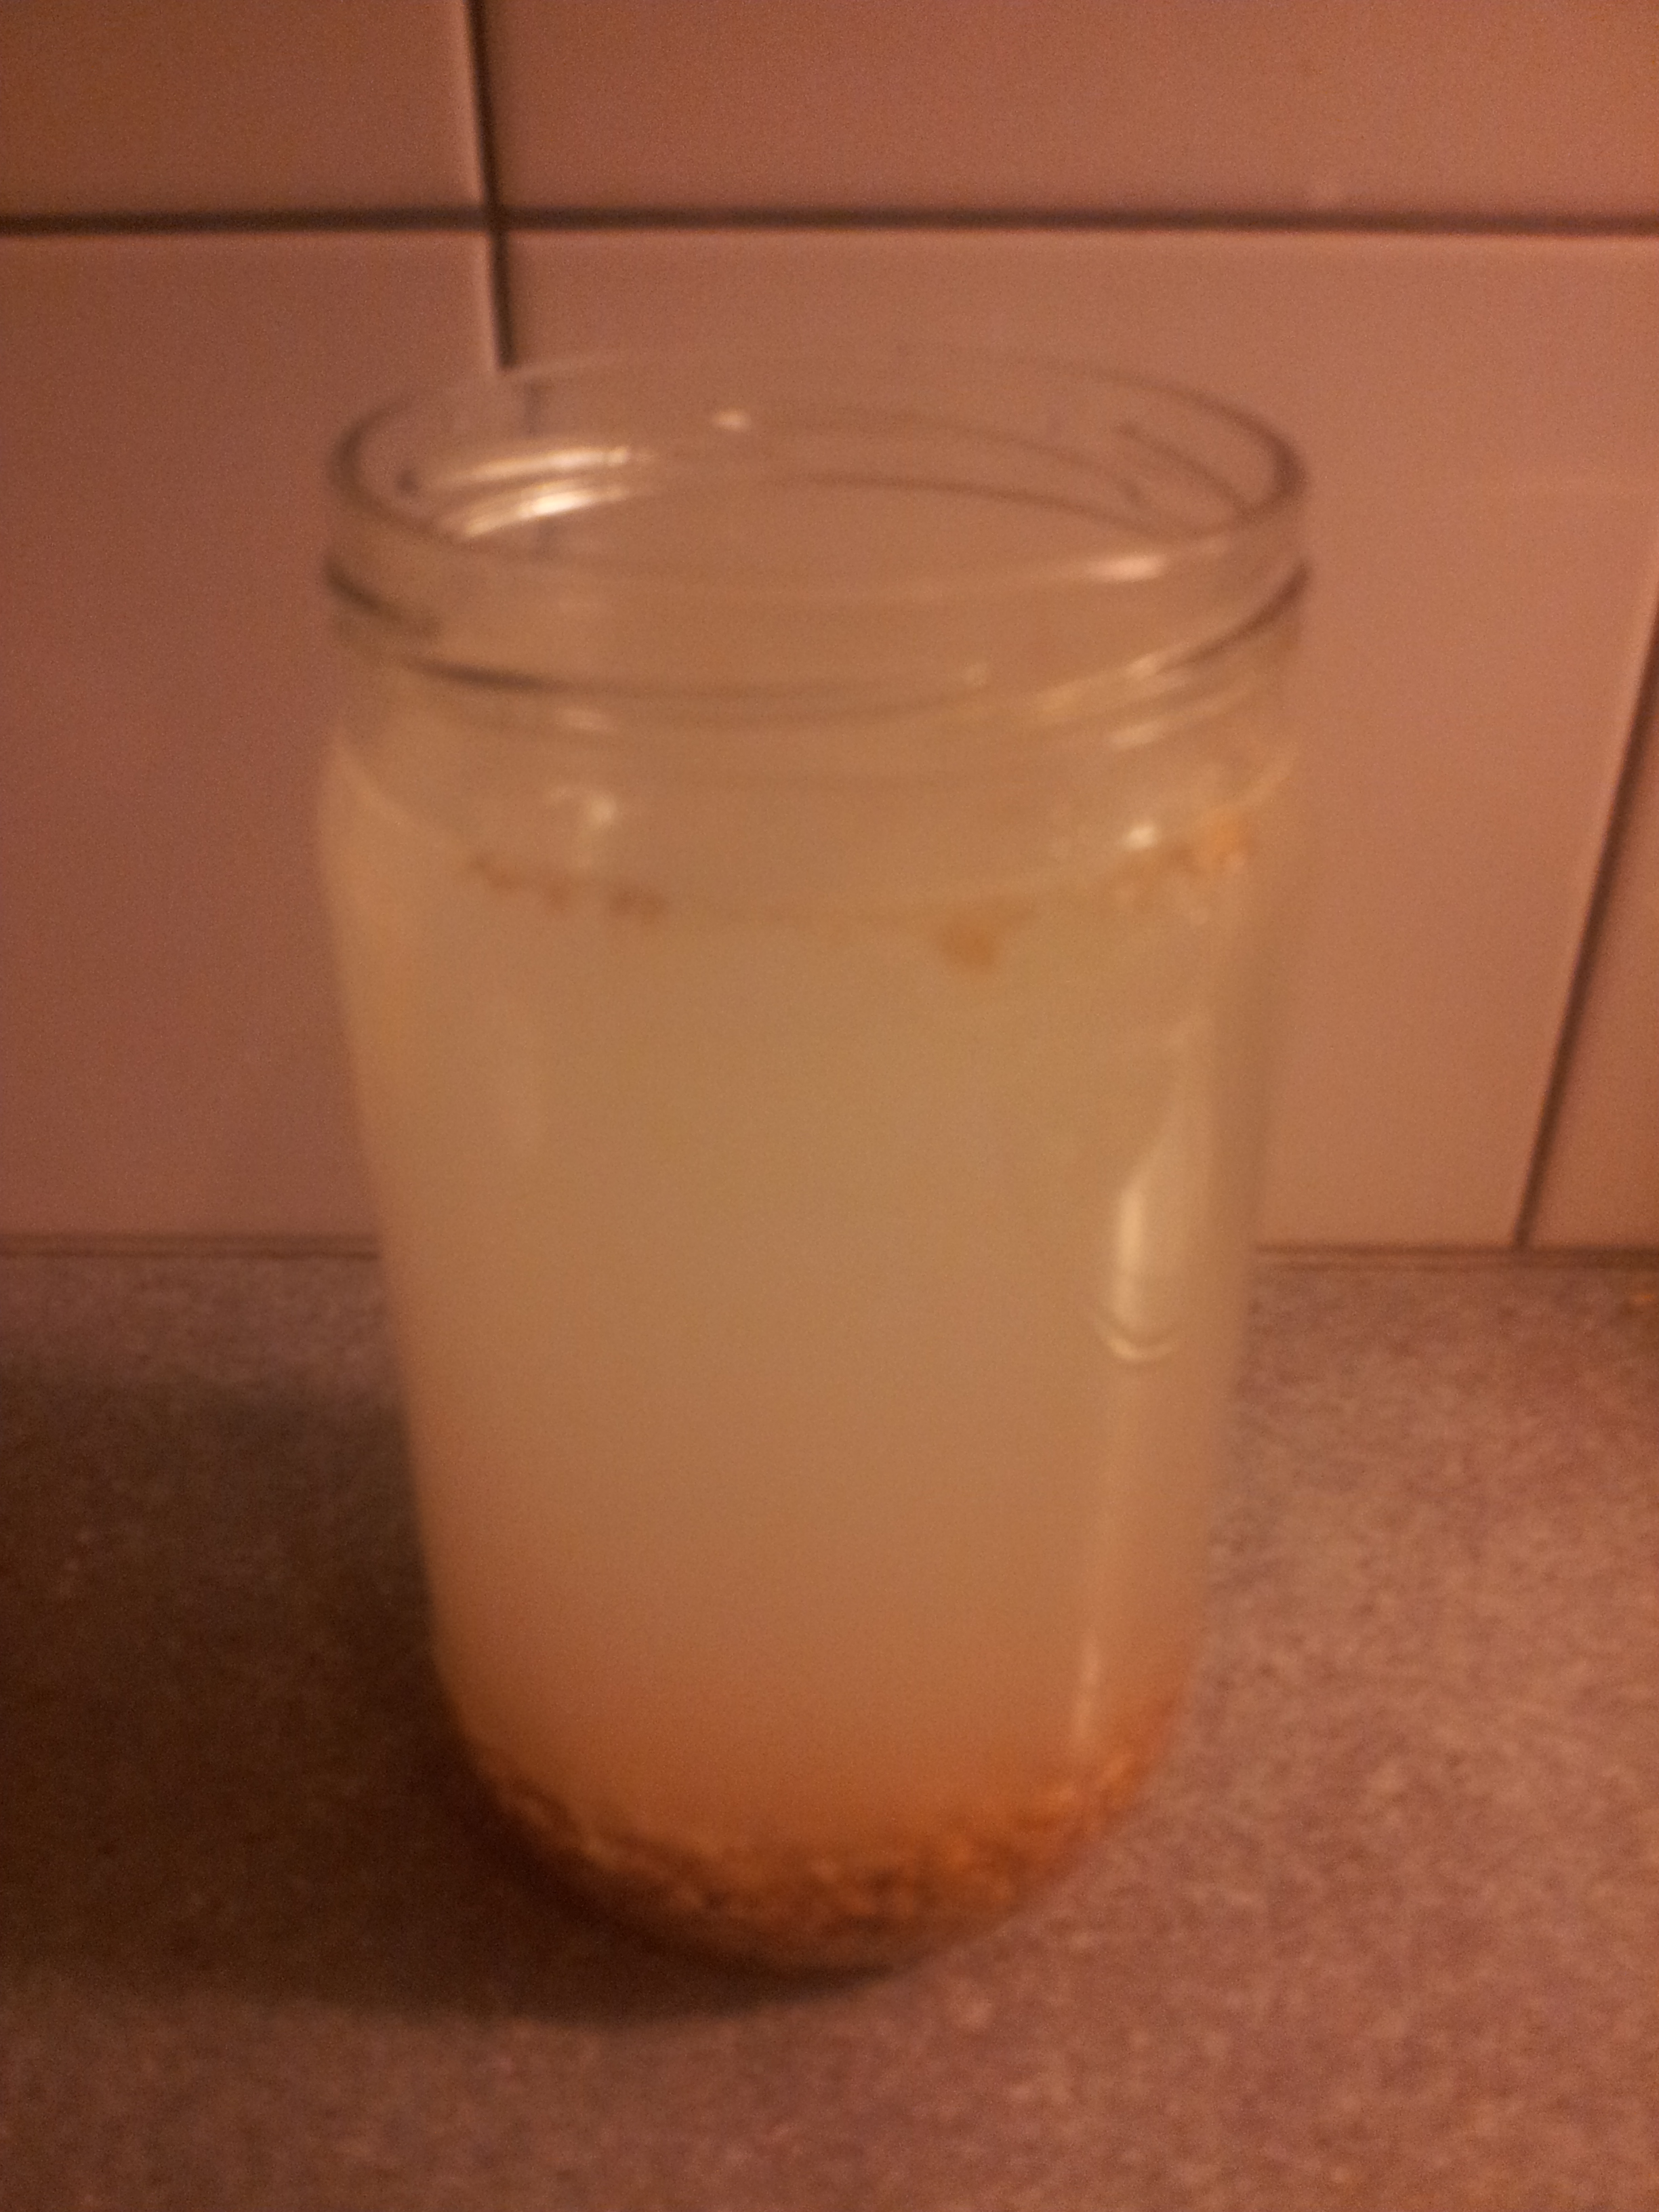
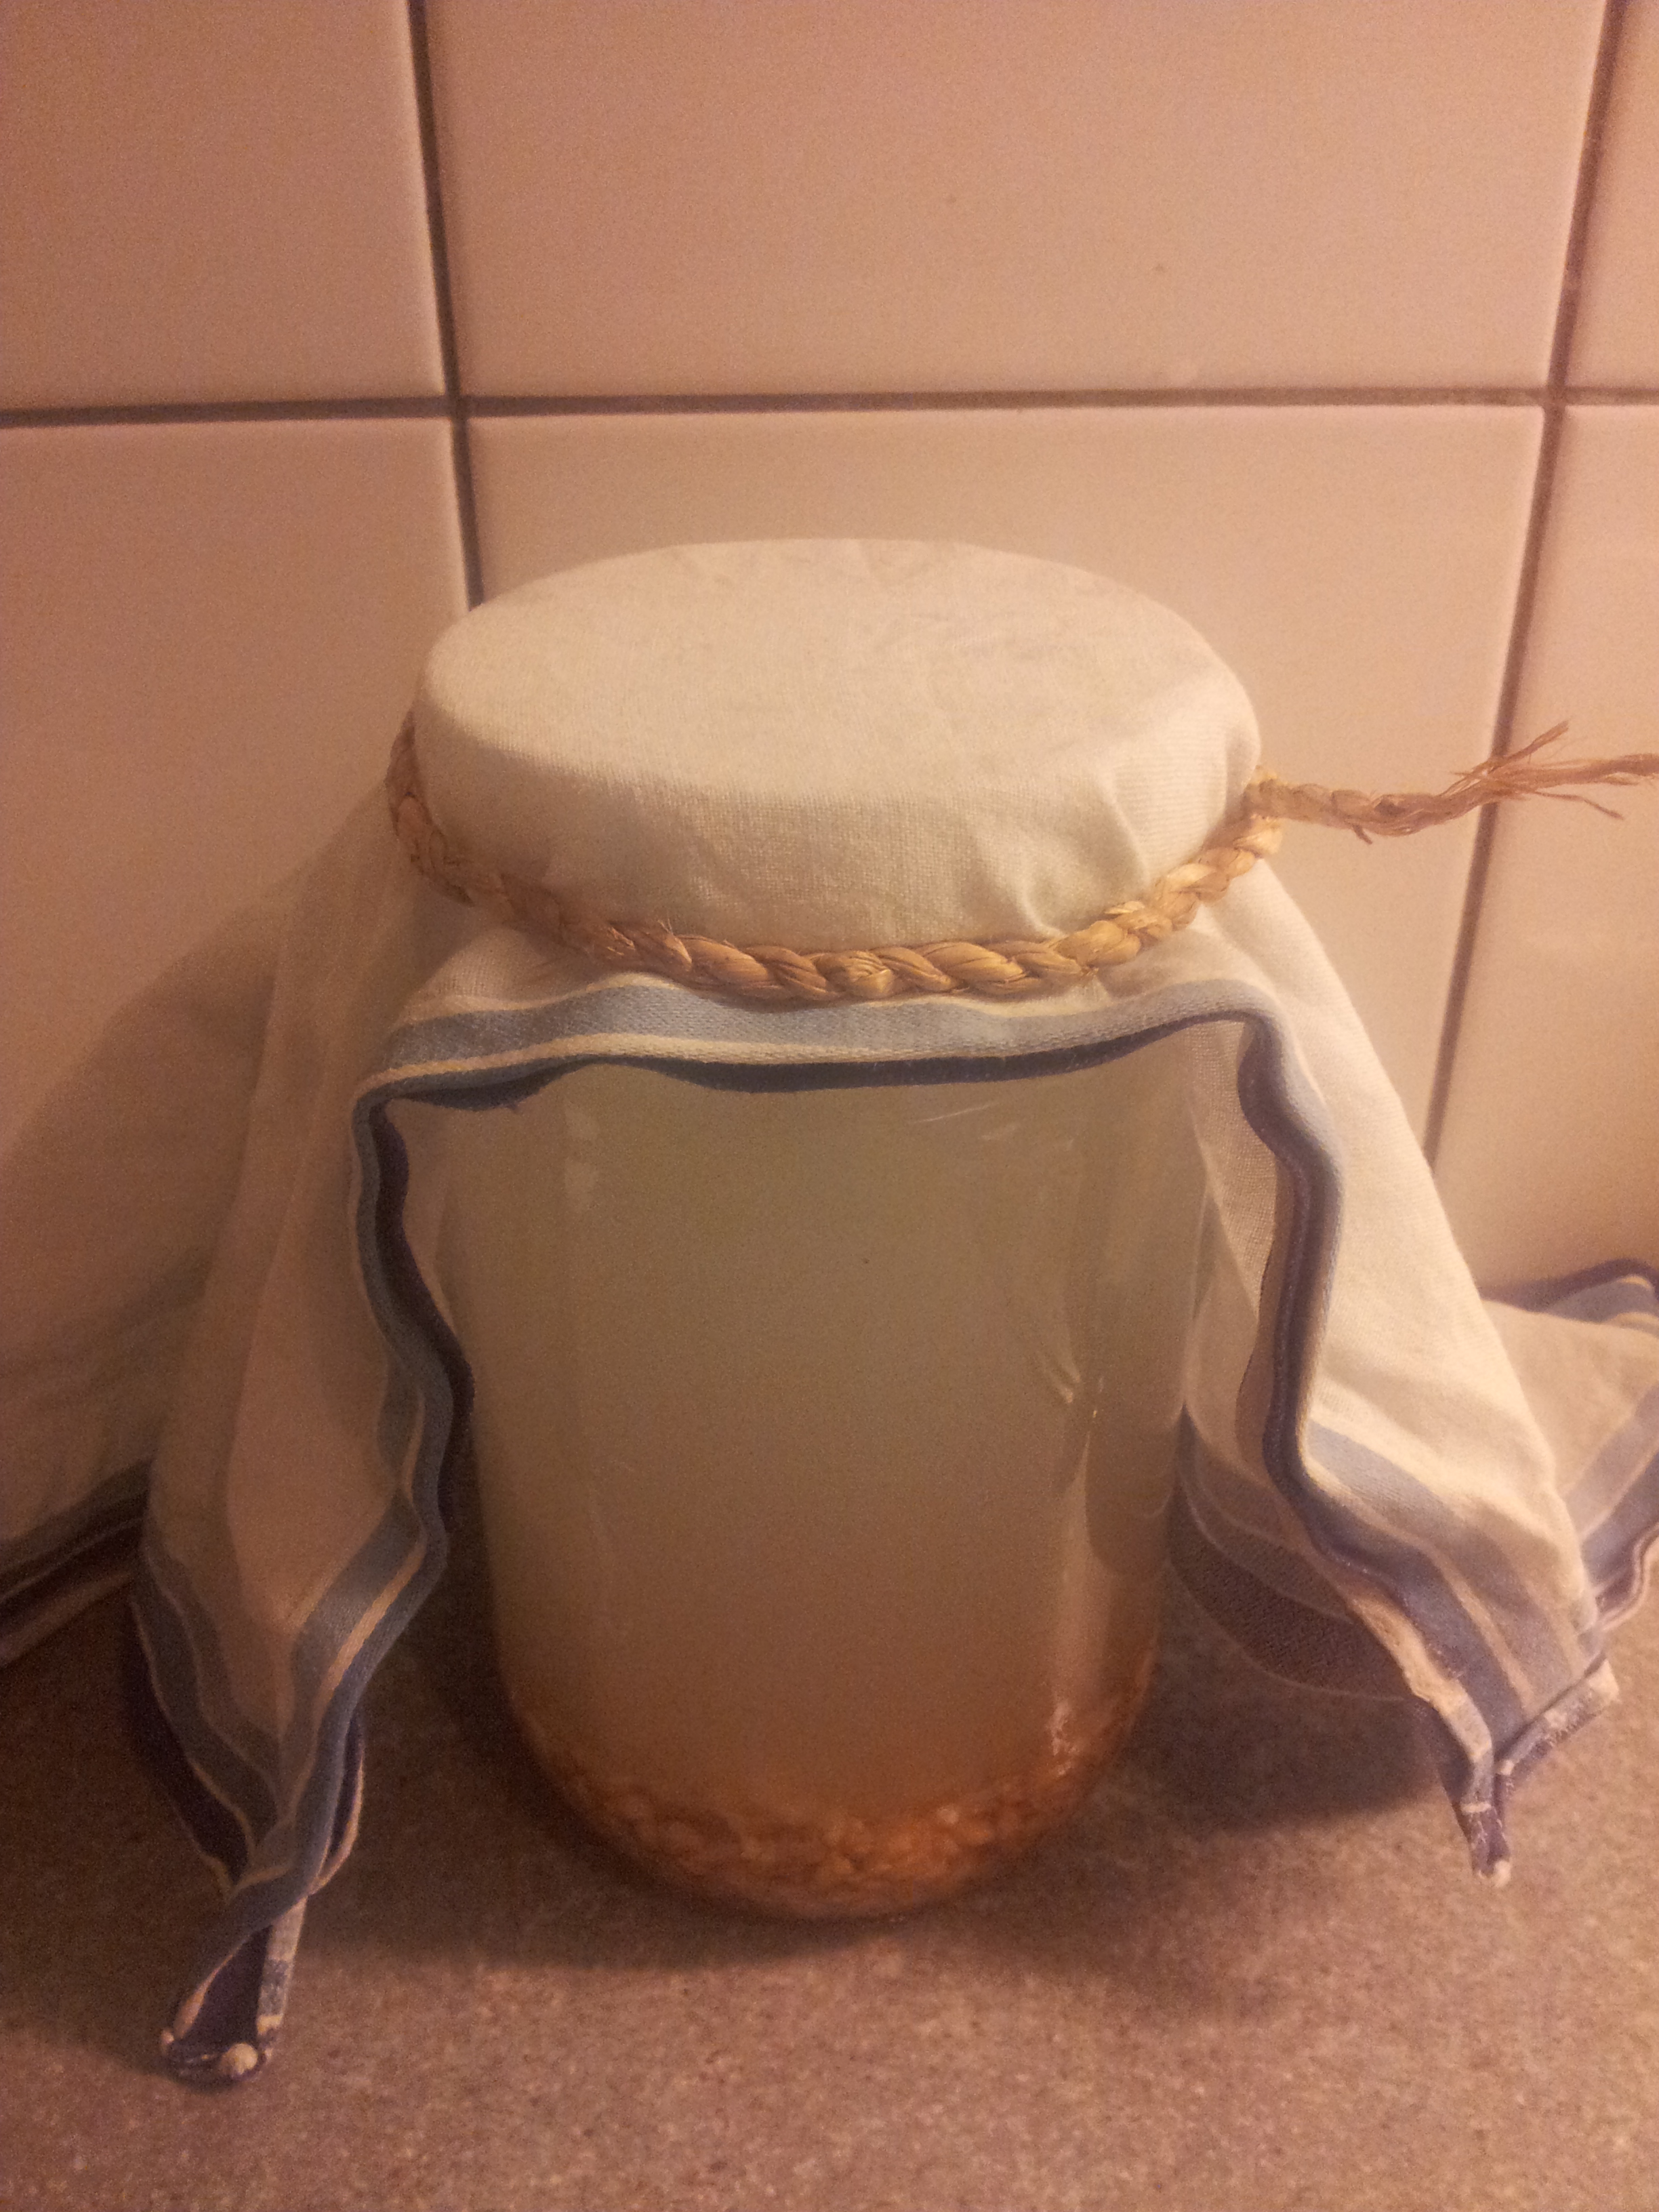
  1. Mix milk and probiotic and reserve in a hermetically closed jar
    2015-01-17 15.54.14
  2. Wait 1 to 2 days, at room temperature, the microflora has had its effect (you can remix it often)
    Note: It is better for you to use a yogurt or oven at the right temperature to minimize the risk of food poisoning (refer to your instruction manual supplied with the probiotic, usually 45°C for 4 to 6 hours)
    2015-01-18 13.05.32
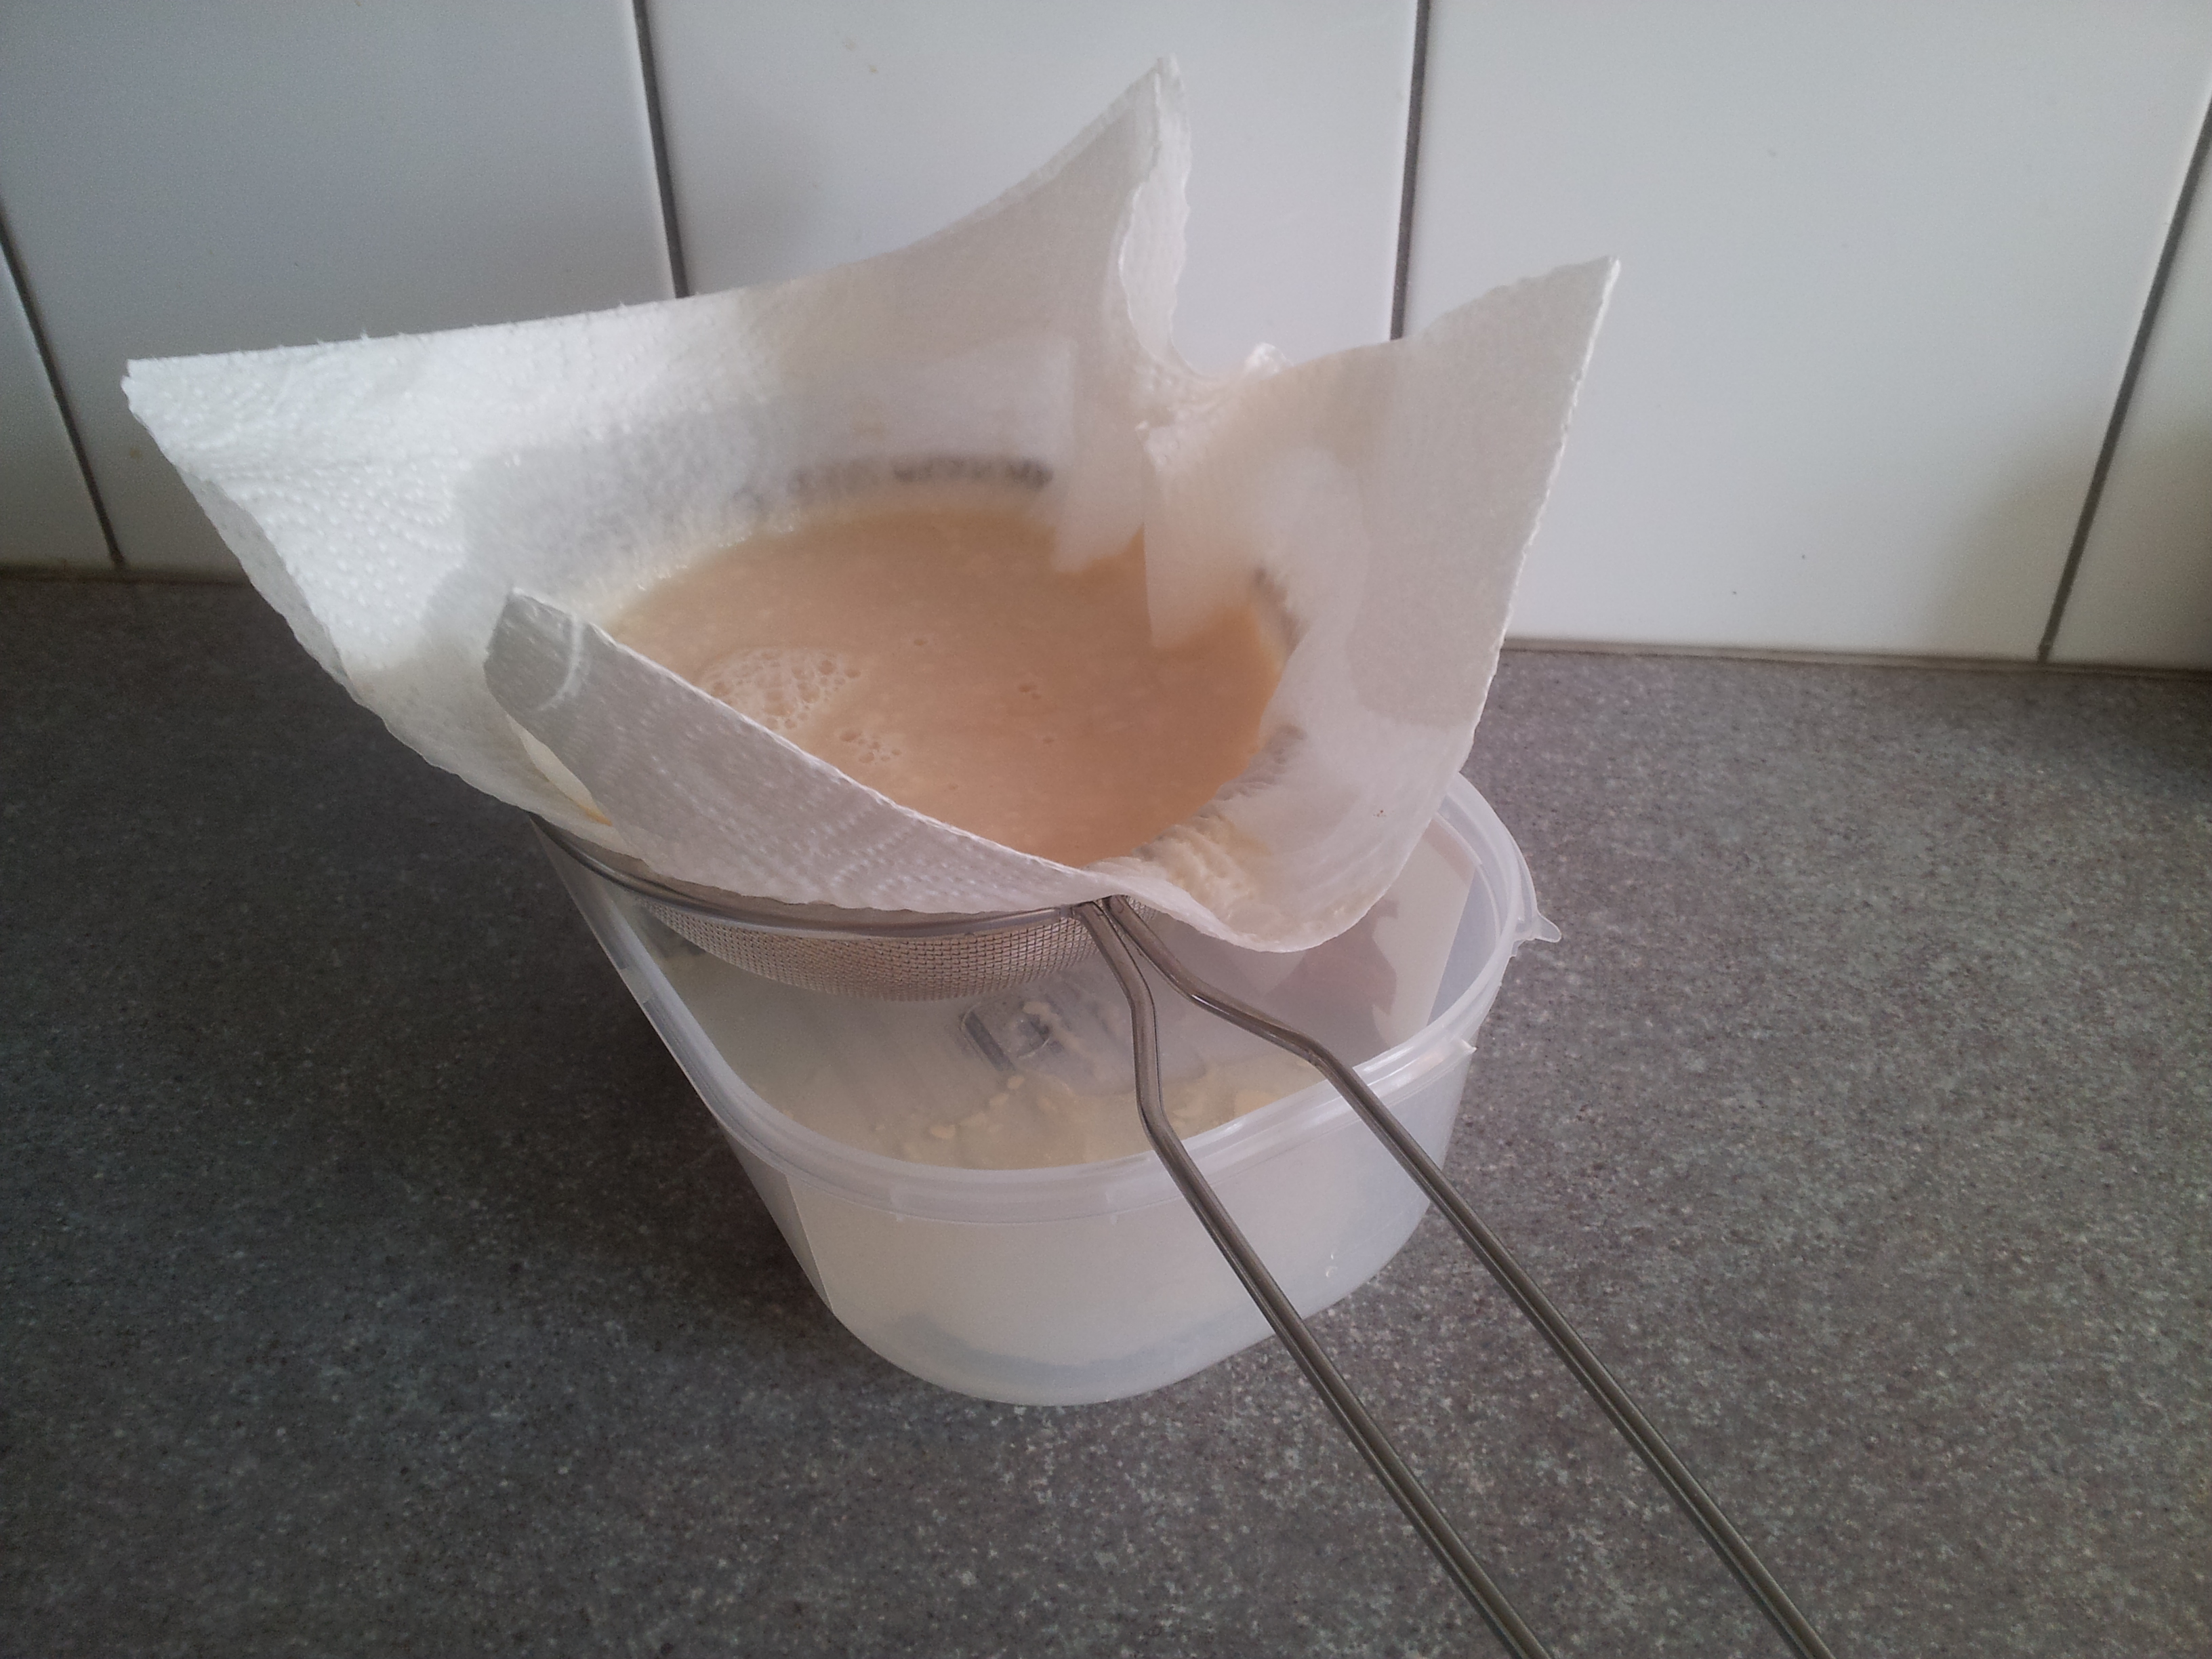
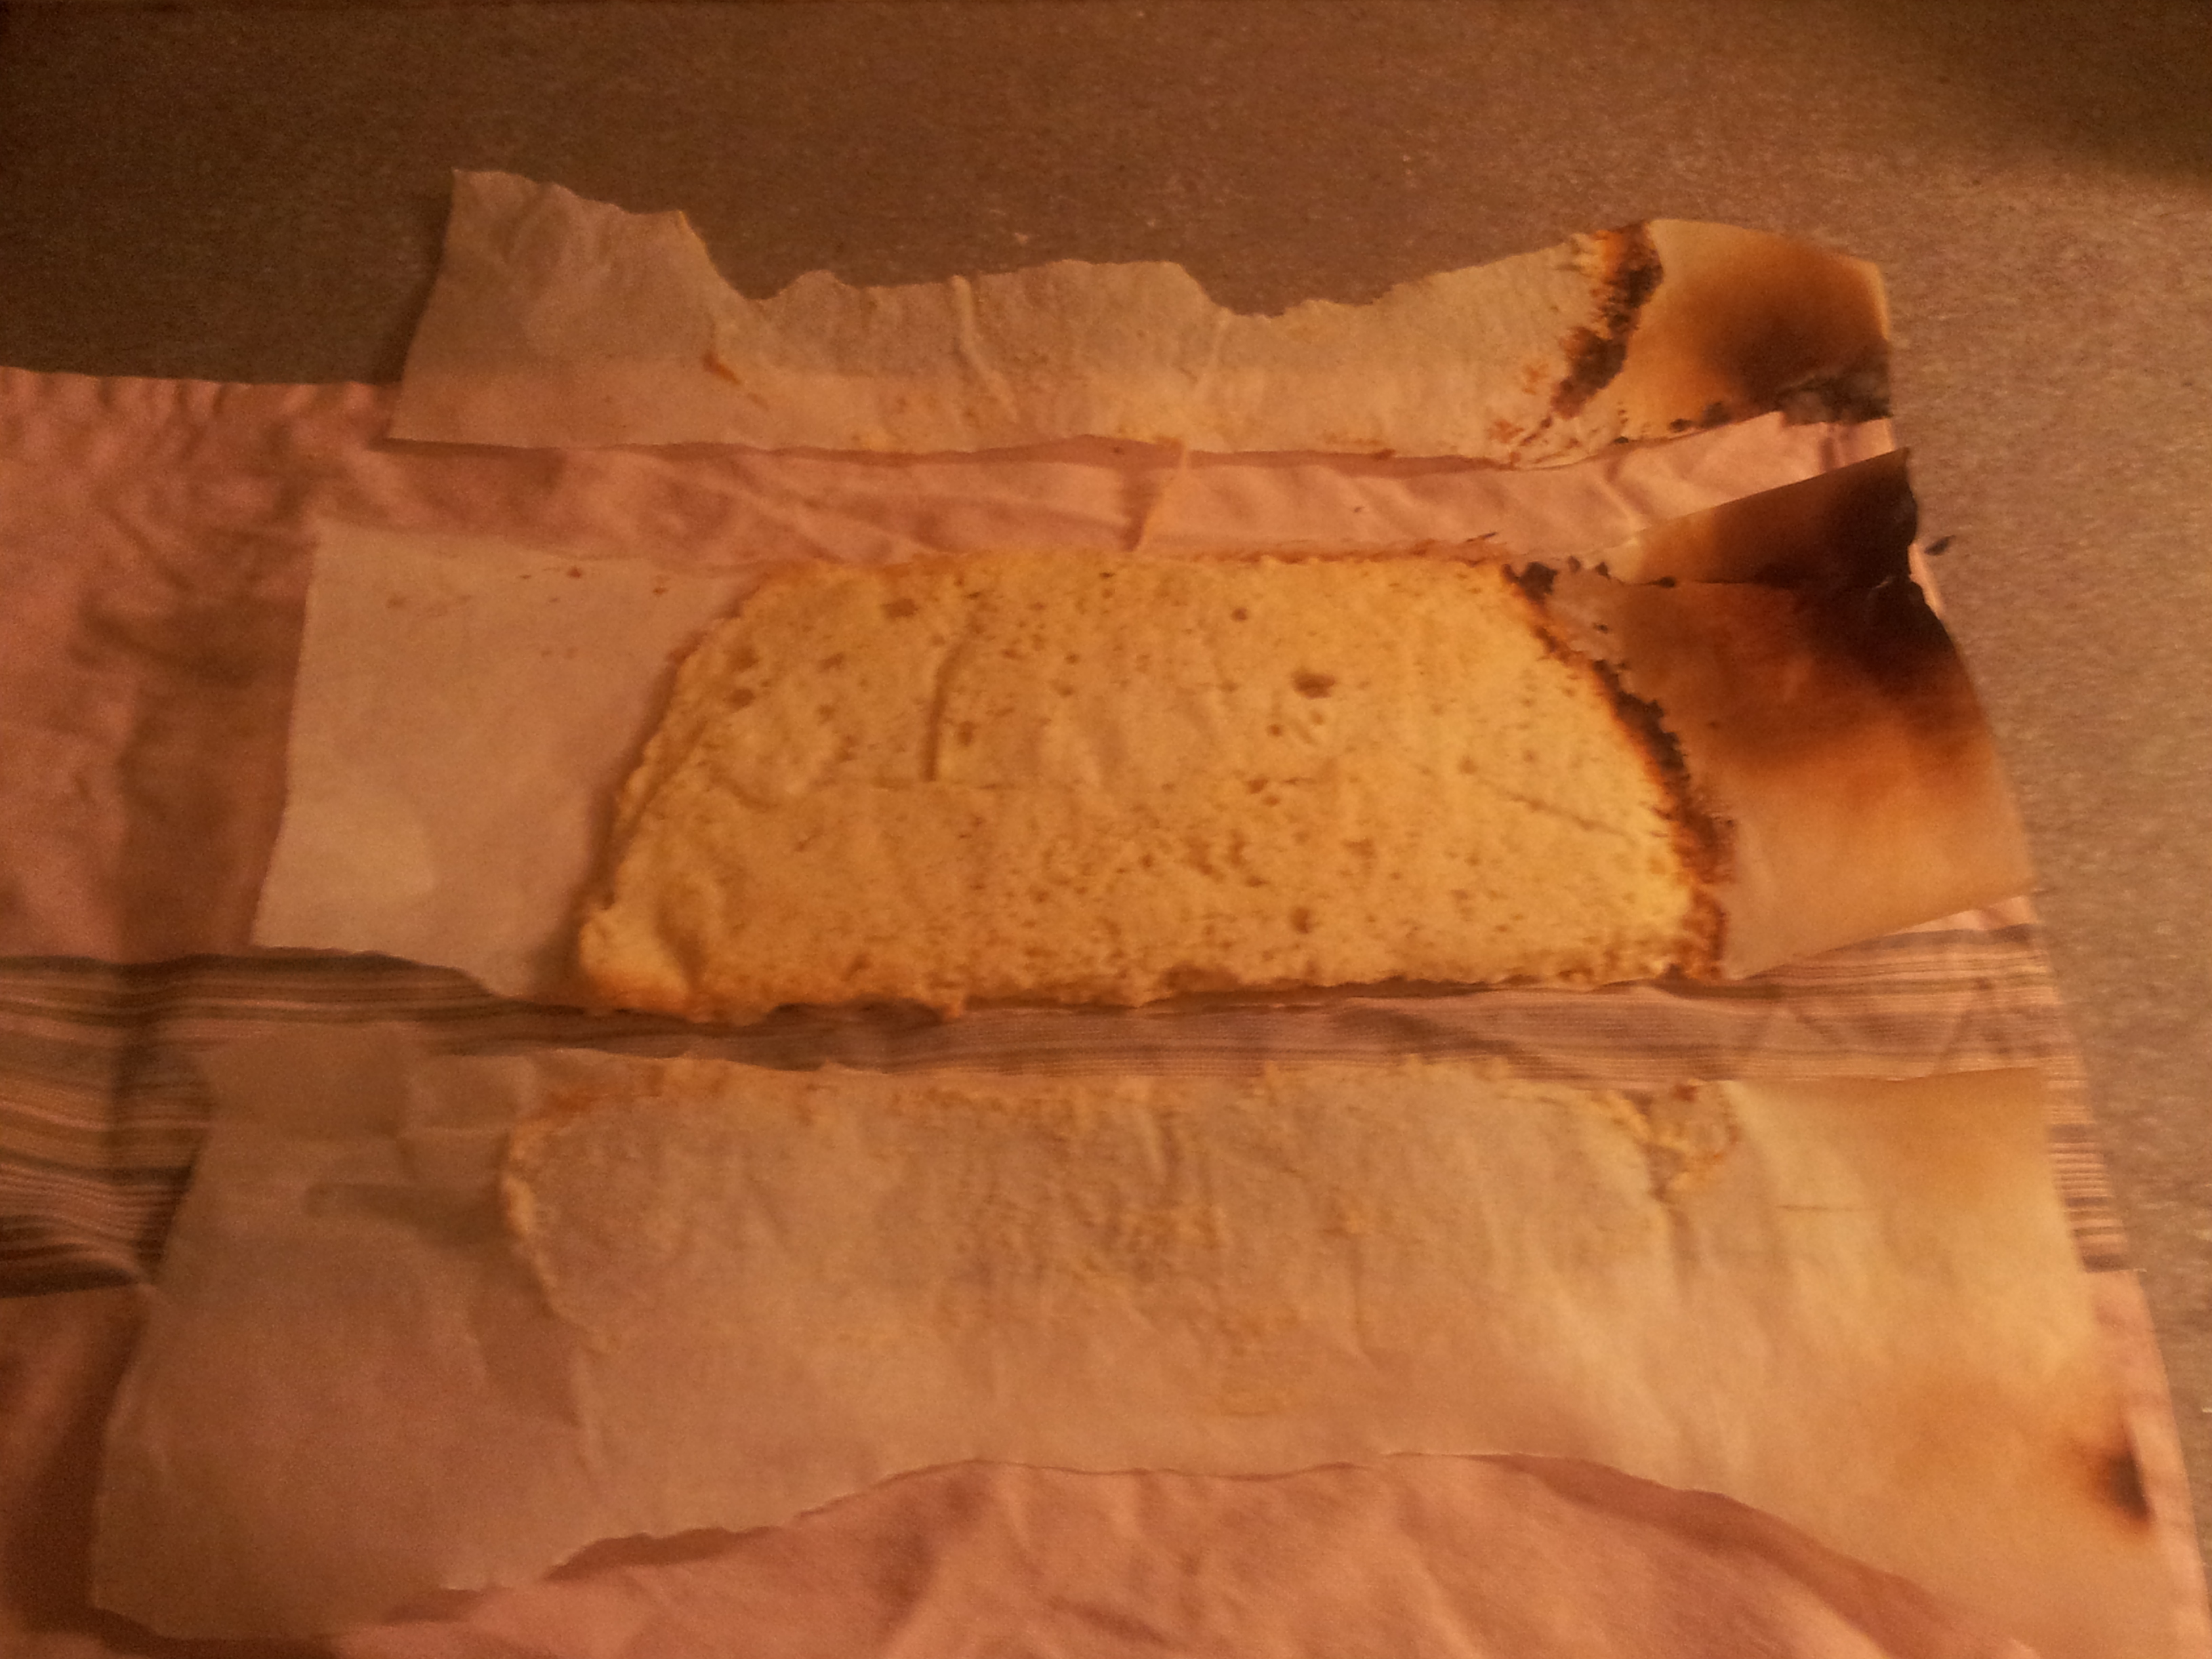
  3. Filter using a colander and paper towels (be careful, it may take several hours)
    Note: Preferably, do this step in a refrigerator, always for hygiene’s reasons!
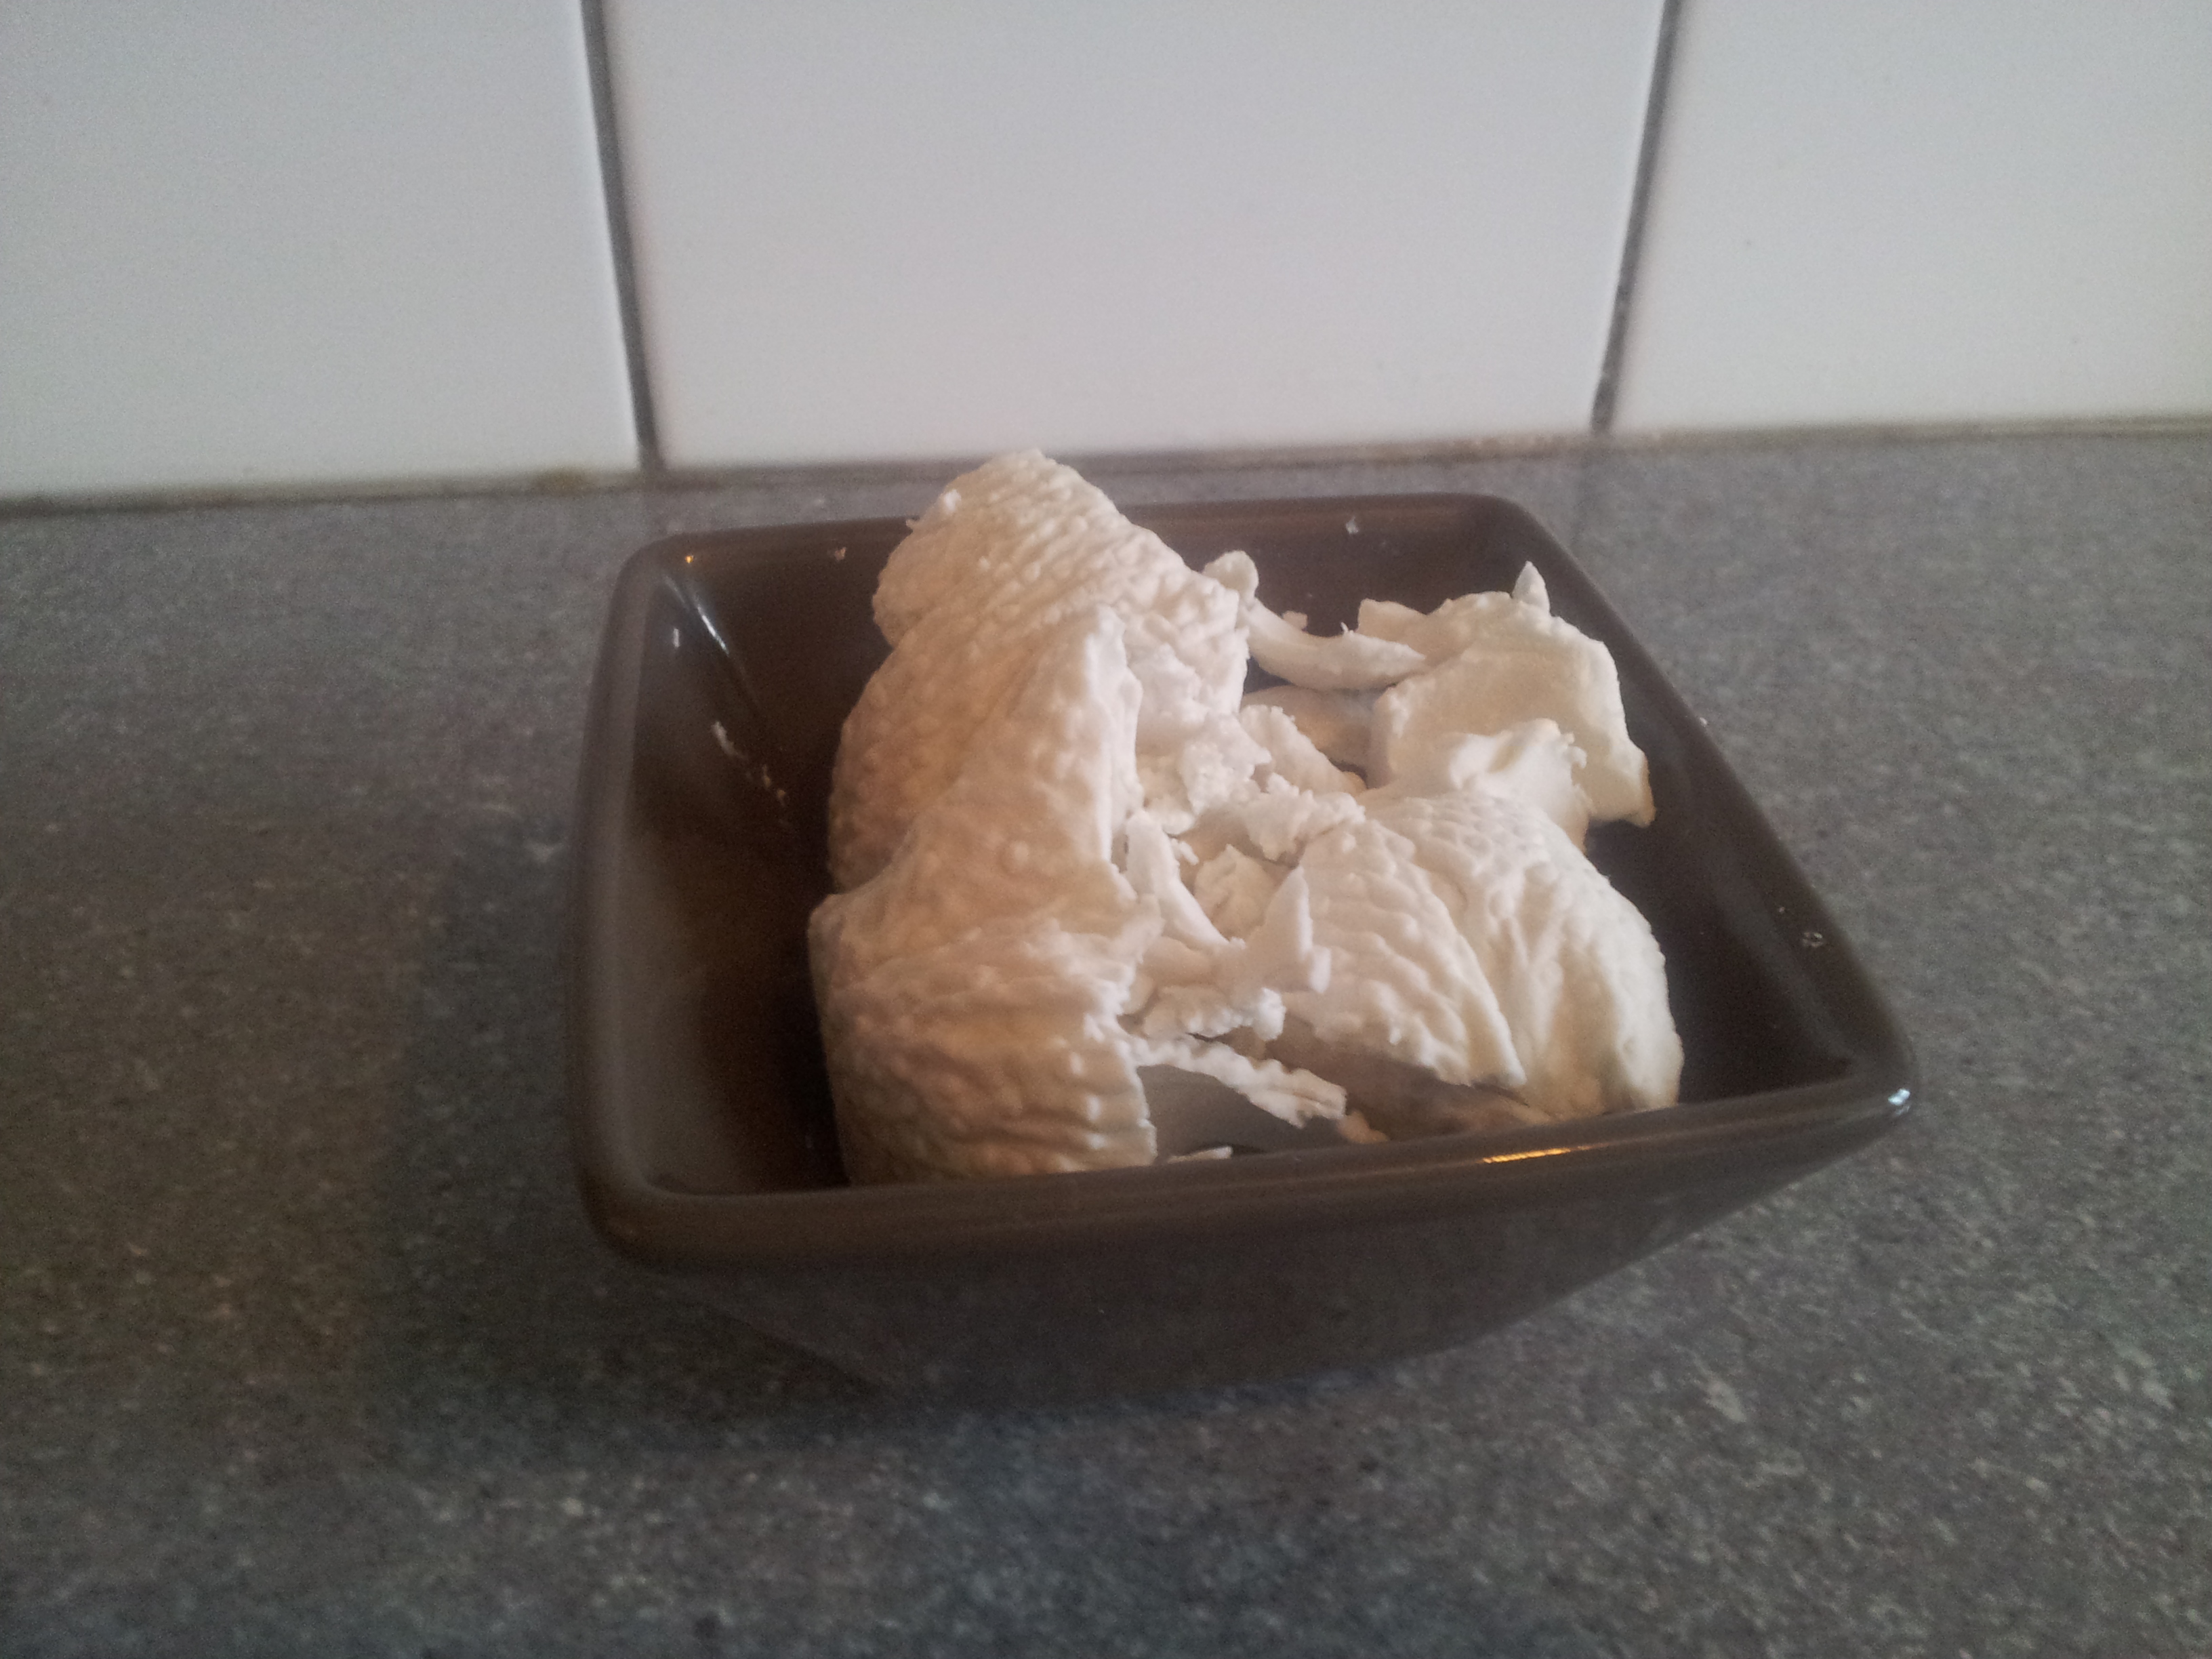
    2015-01-18 13.10.52
  4. Yogurth’s done!
    2015-01-18 16.49.59

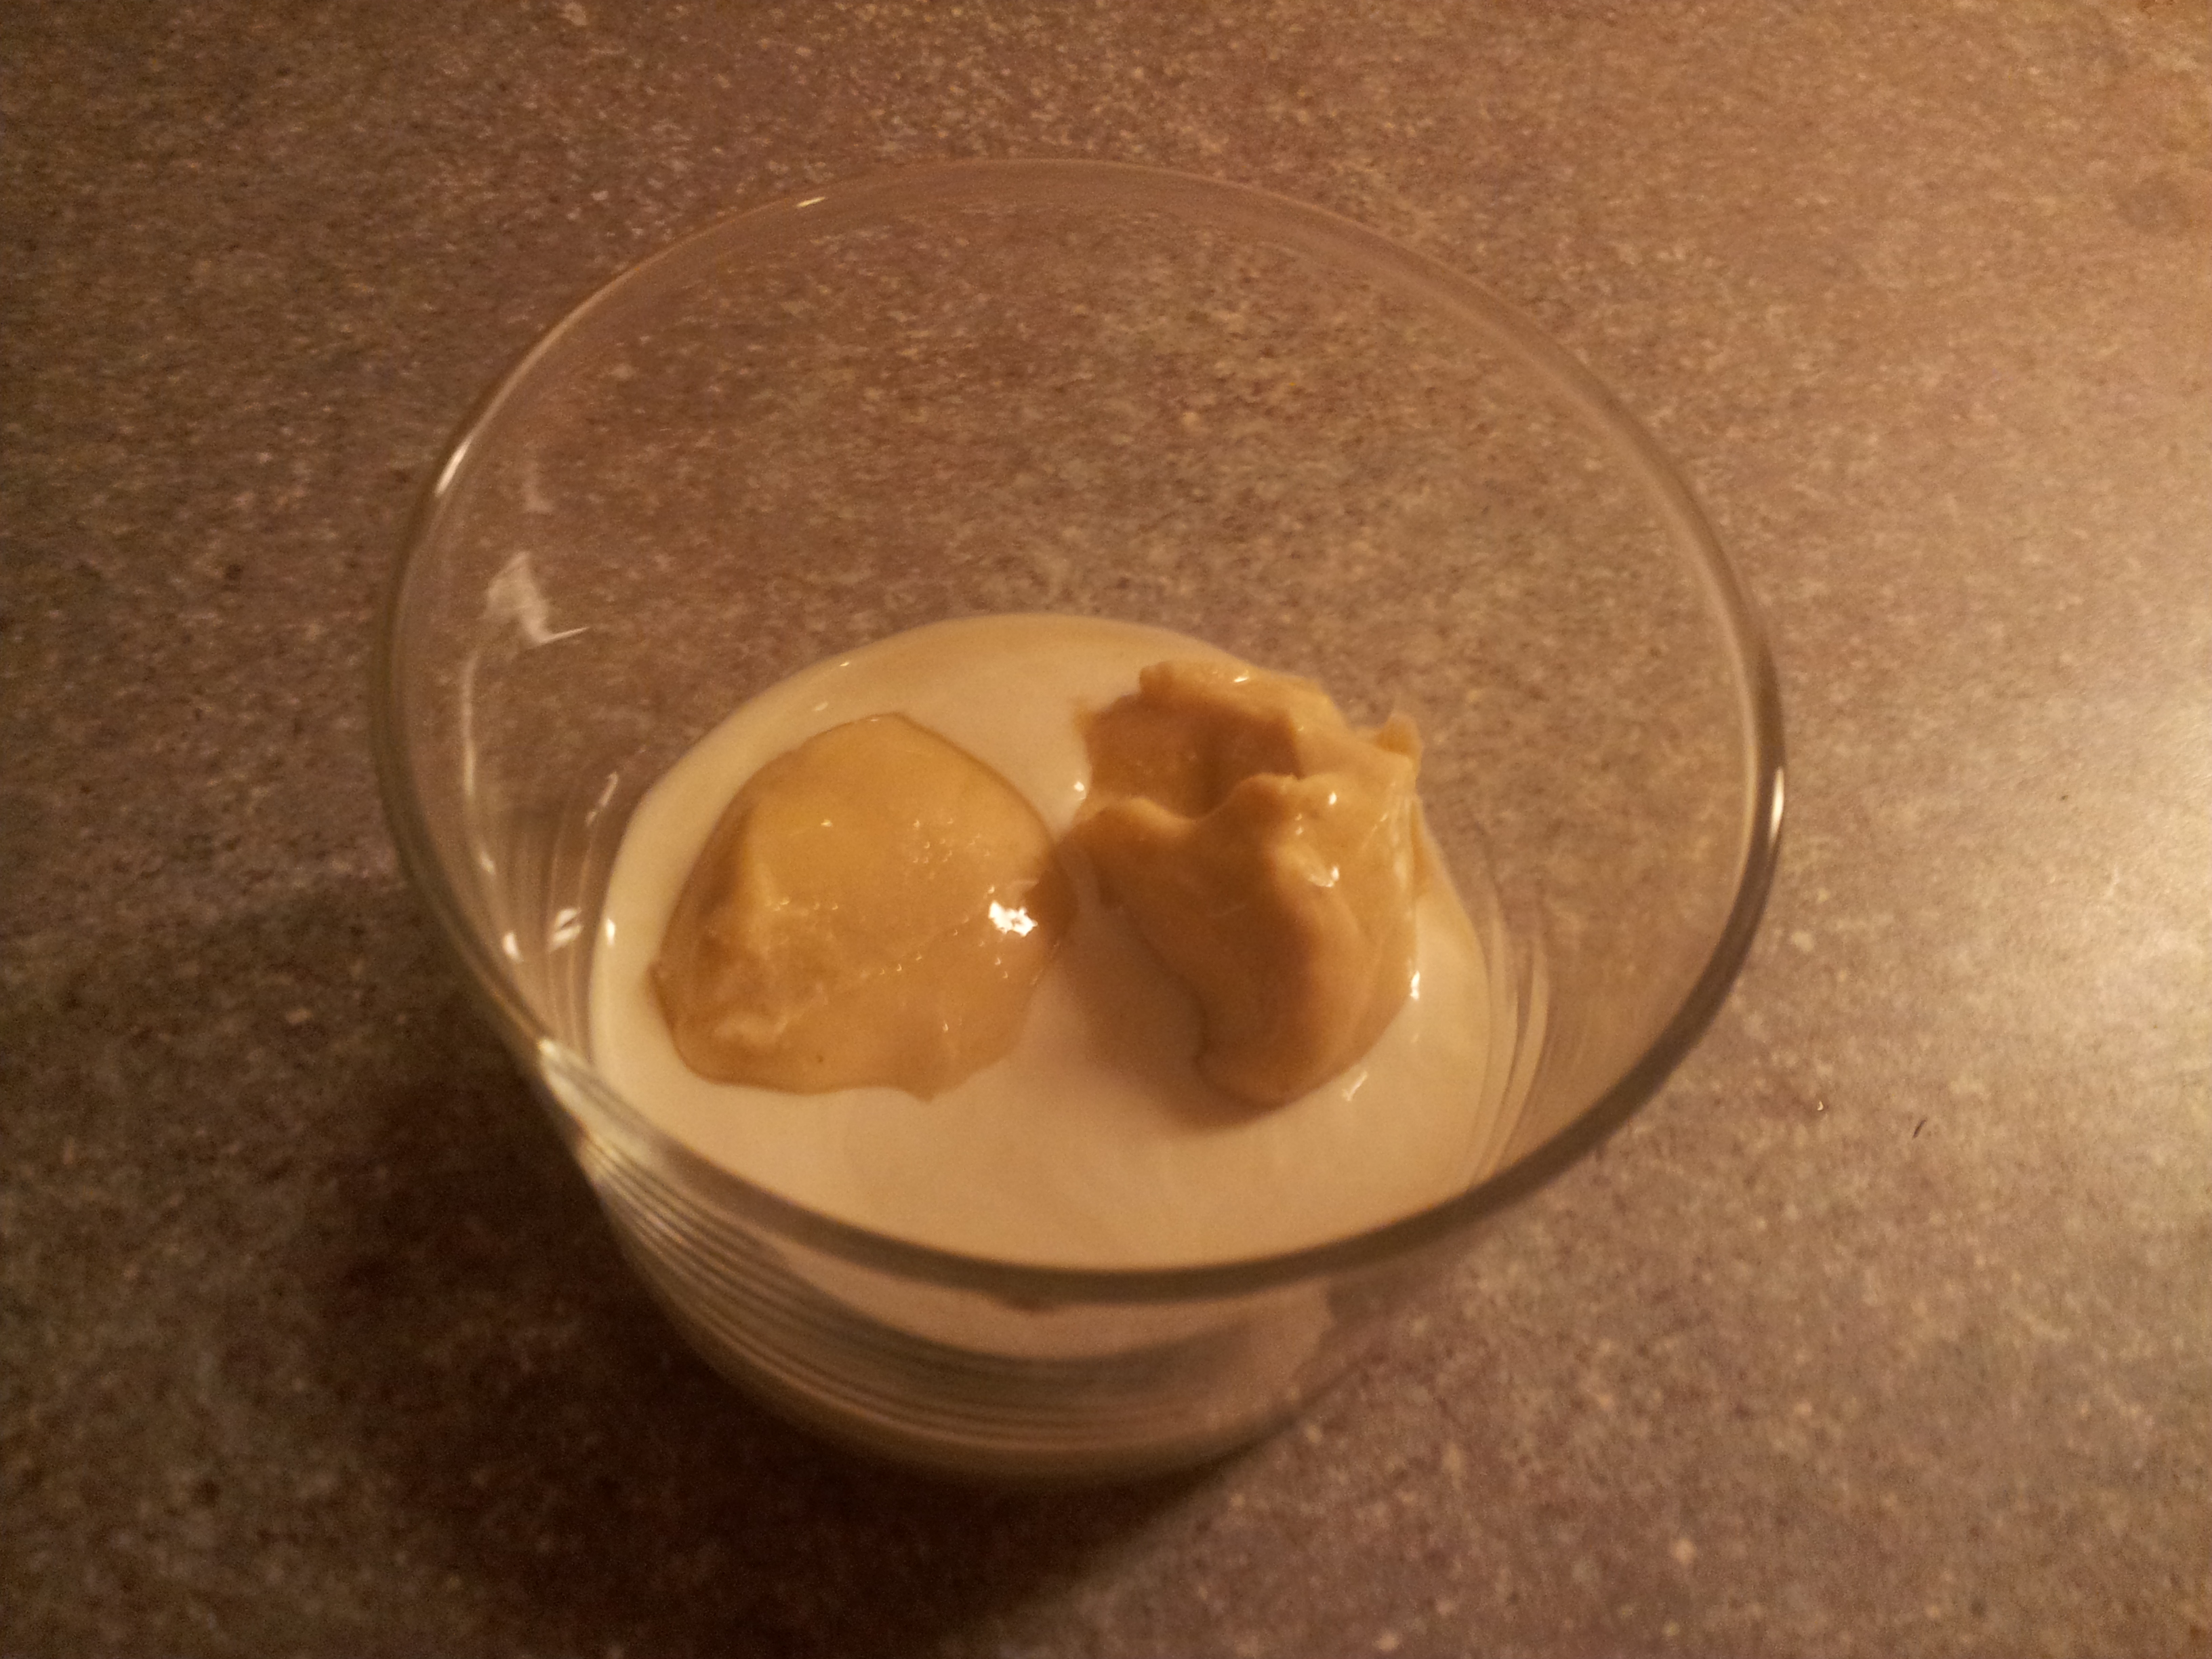
Vegetal/Vegan minute sour cream

Add your coconut cream miso and the effect is quite convincing!

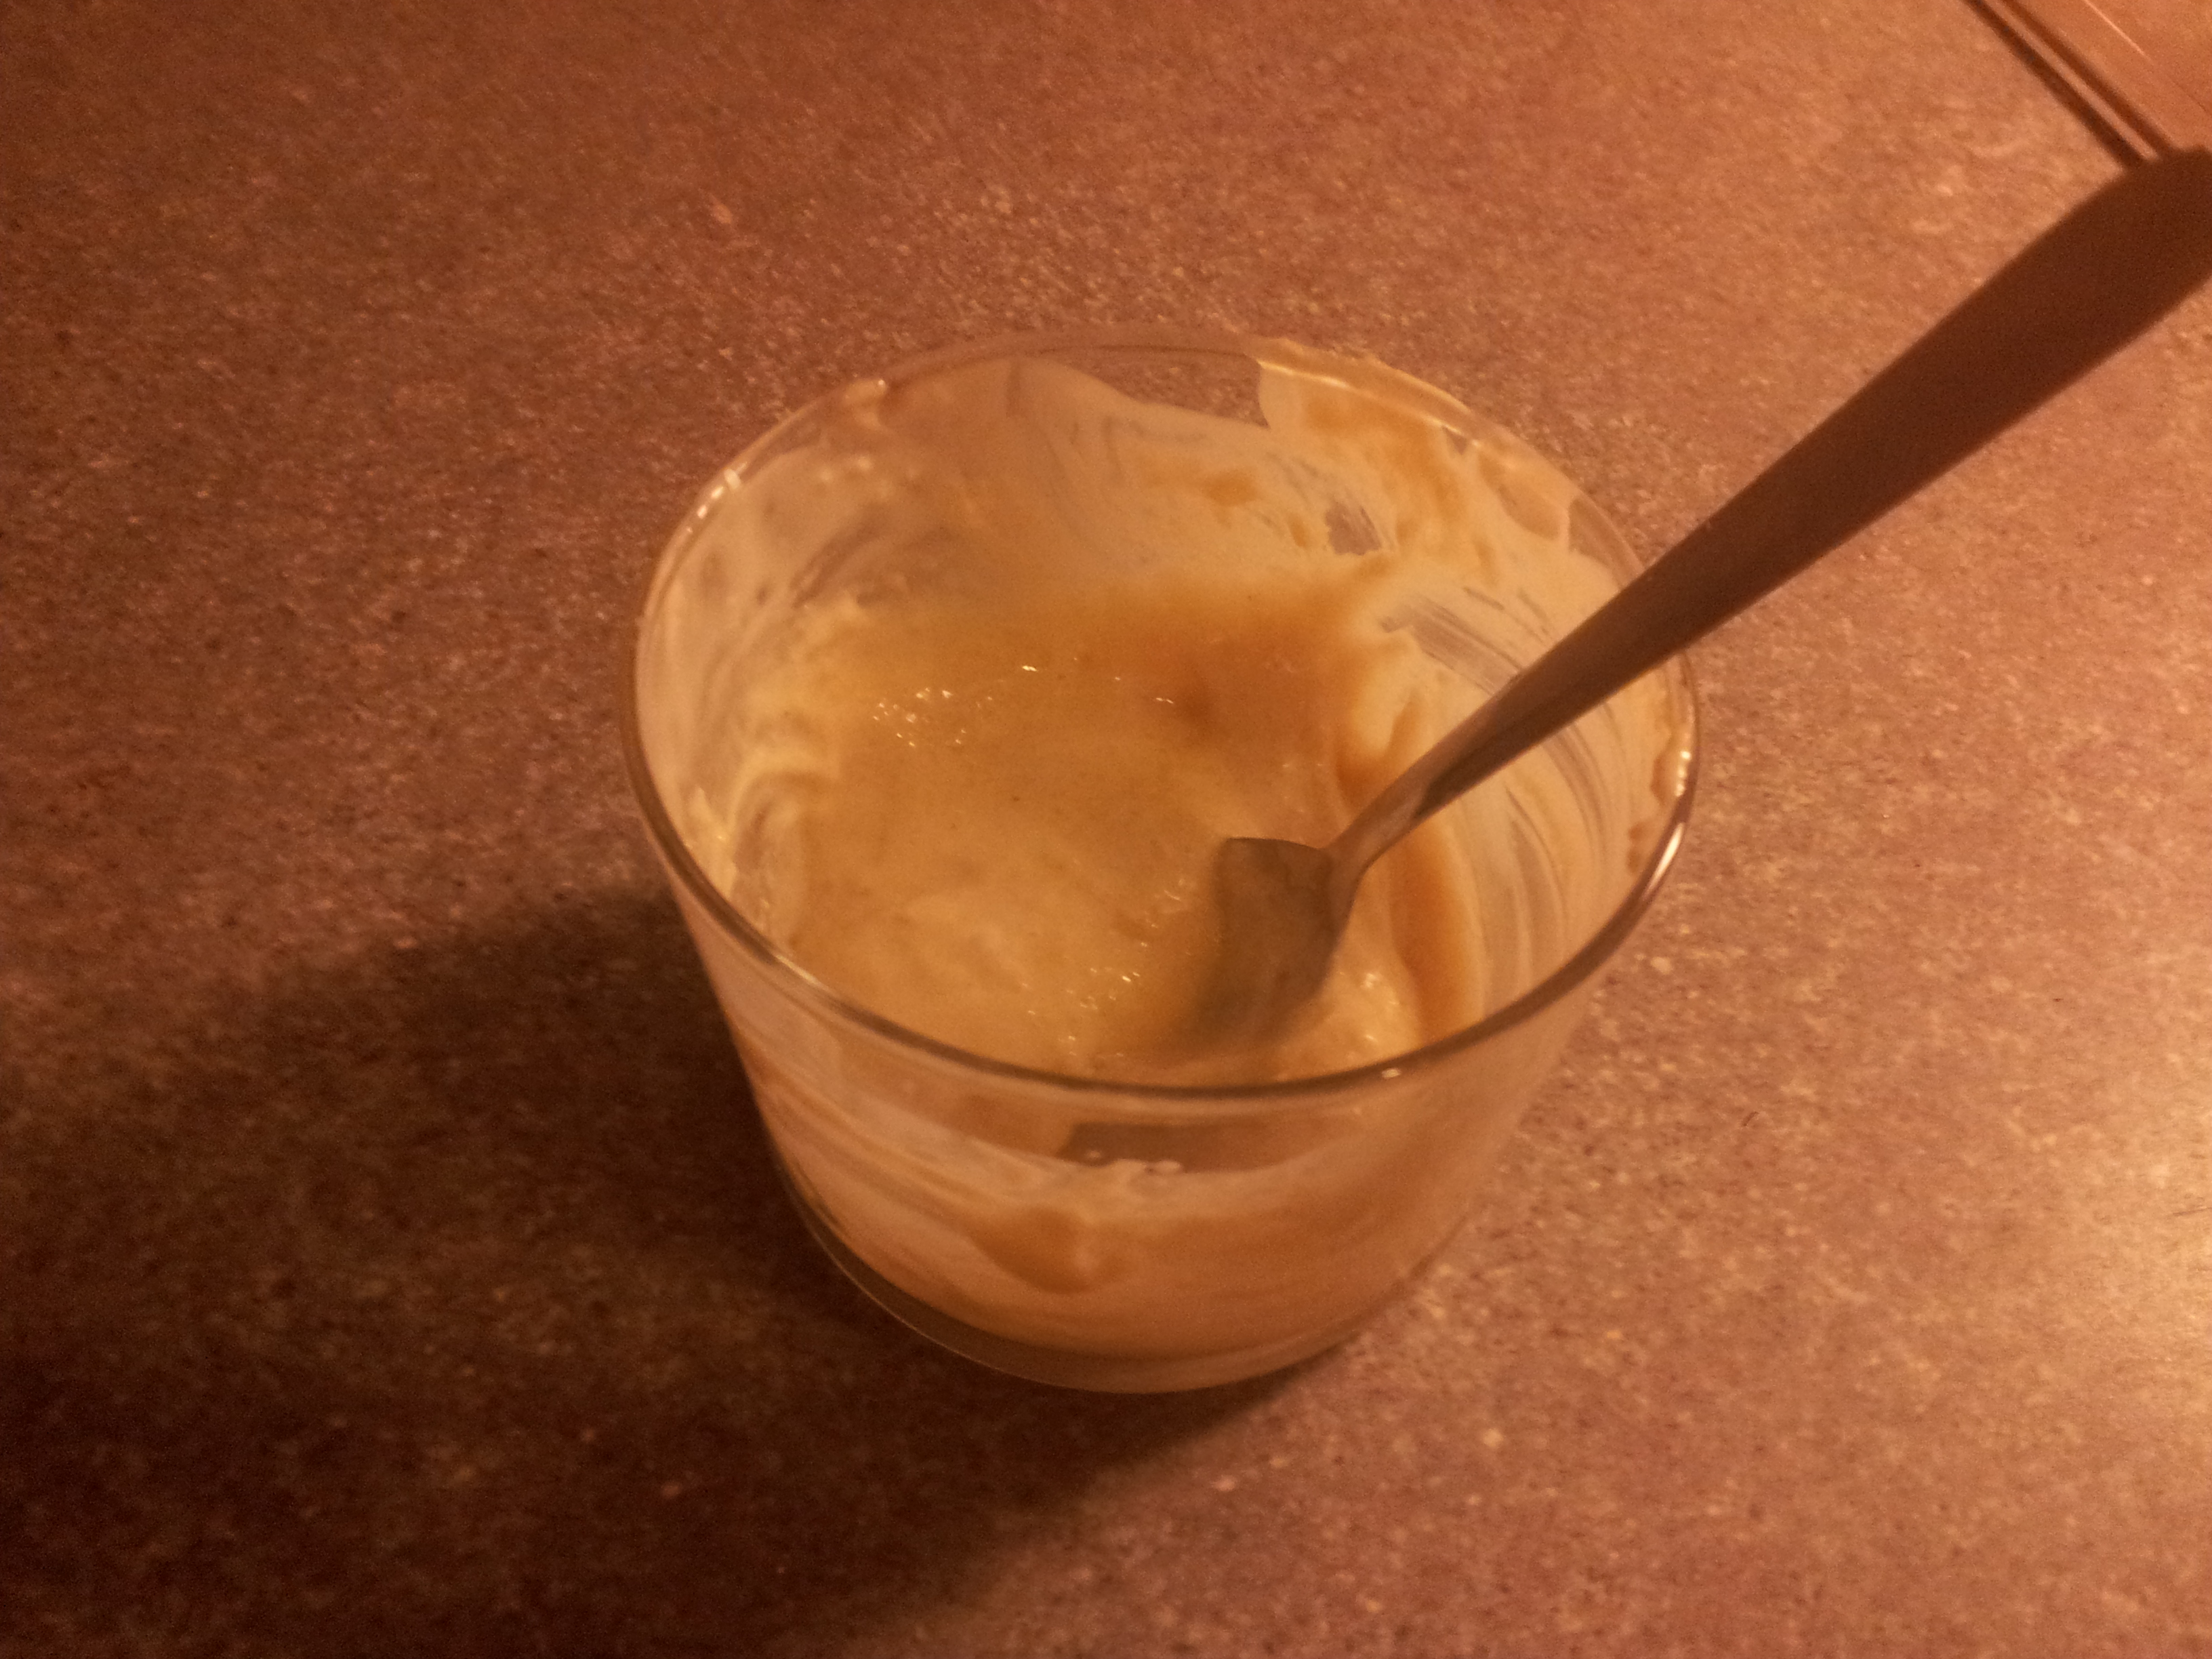
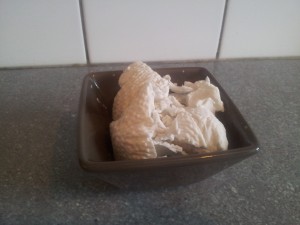
Vegetal/Vegan sour cream

Sour cream is manufactured the same way as yogurt, but will only use coconut milk (which is the richest in saturated fat).

Do not hesitate to mix the liquid if splits into water + cream during the fermentation phase (morning and evening for example).

Depending on your desire for a liquid or more firm cream, simply filter the result or remove part of the water which splitted from the cream in the fermentation phase.
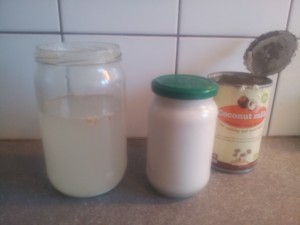
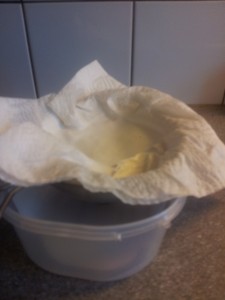
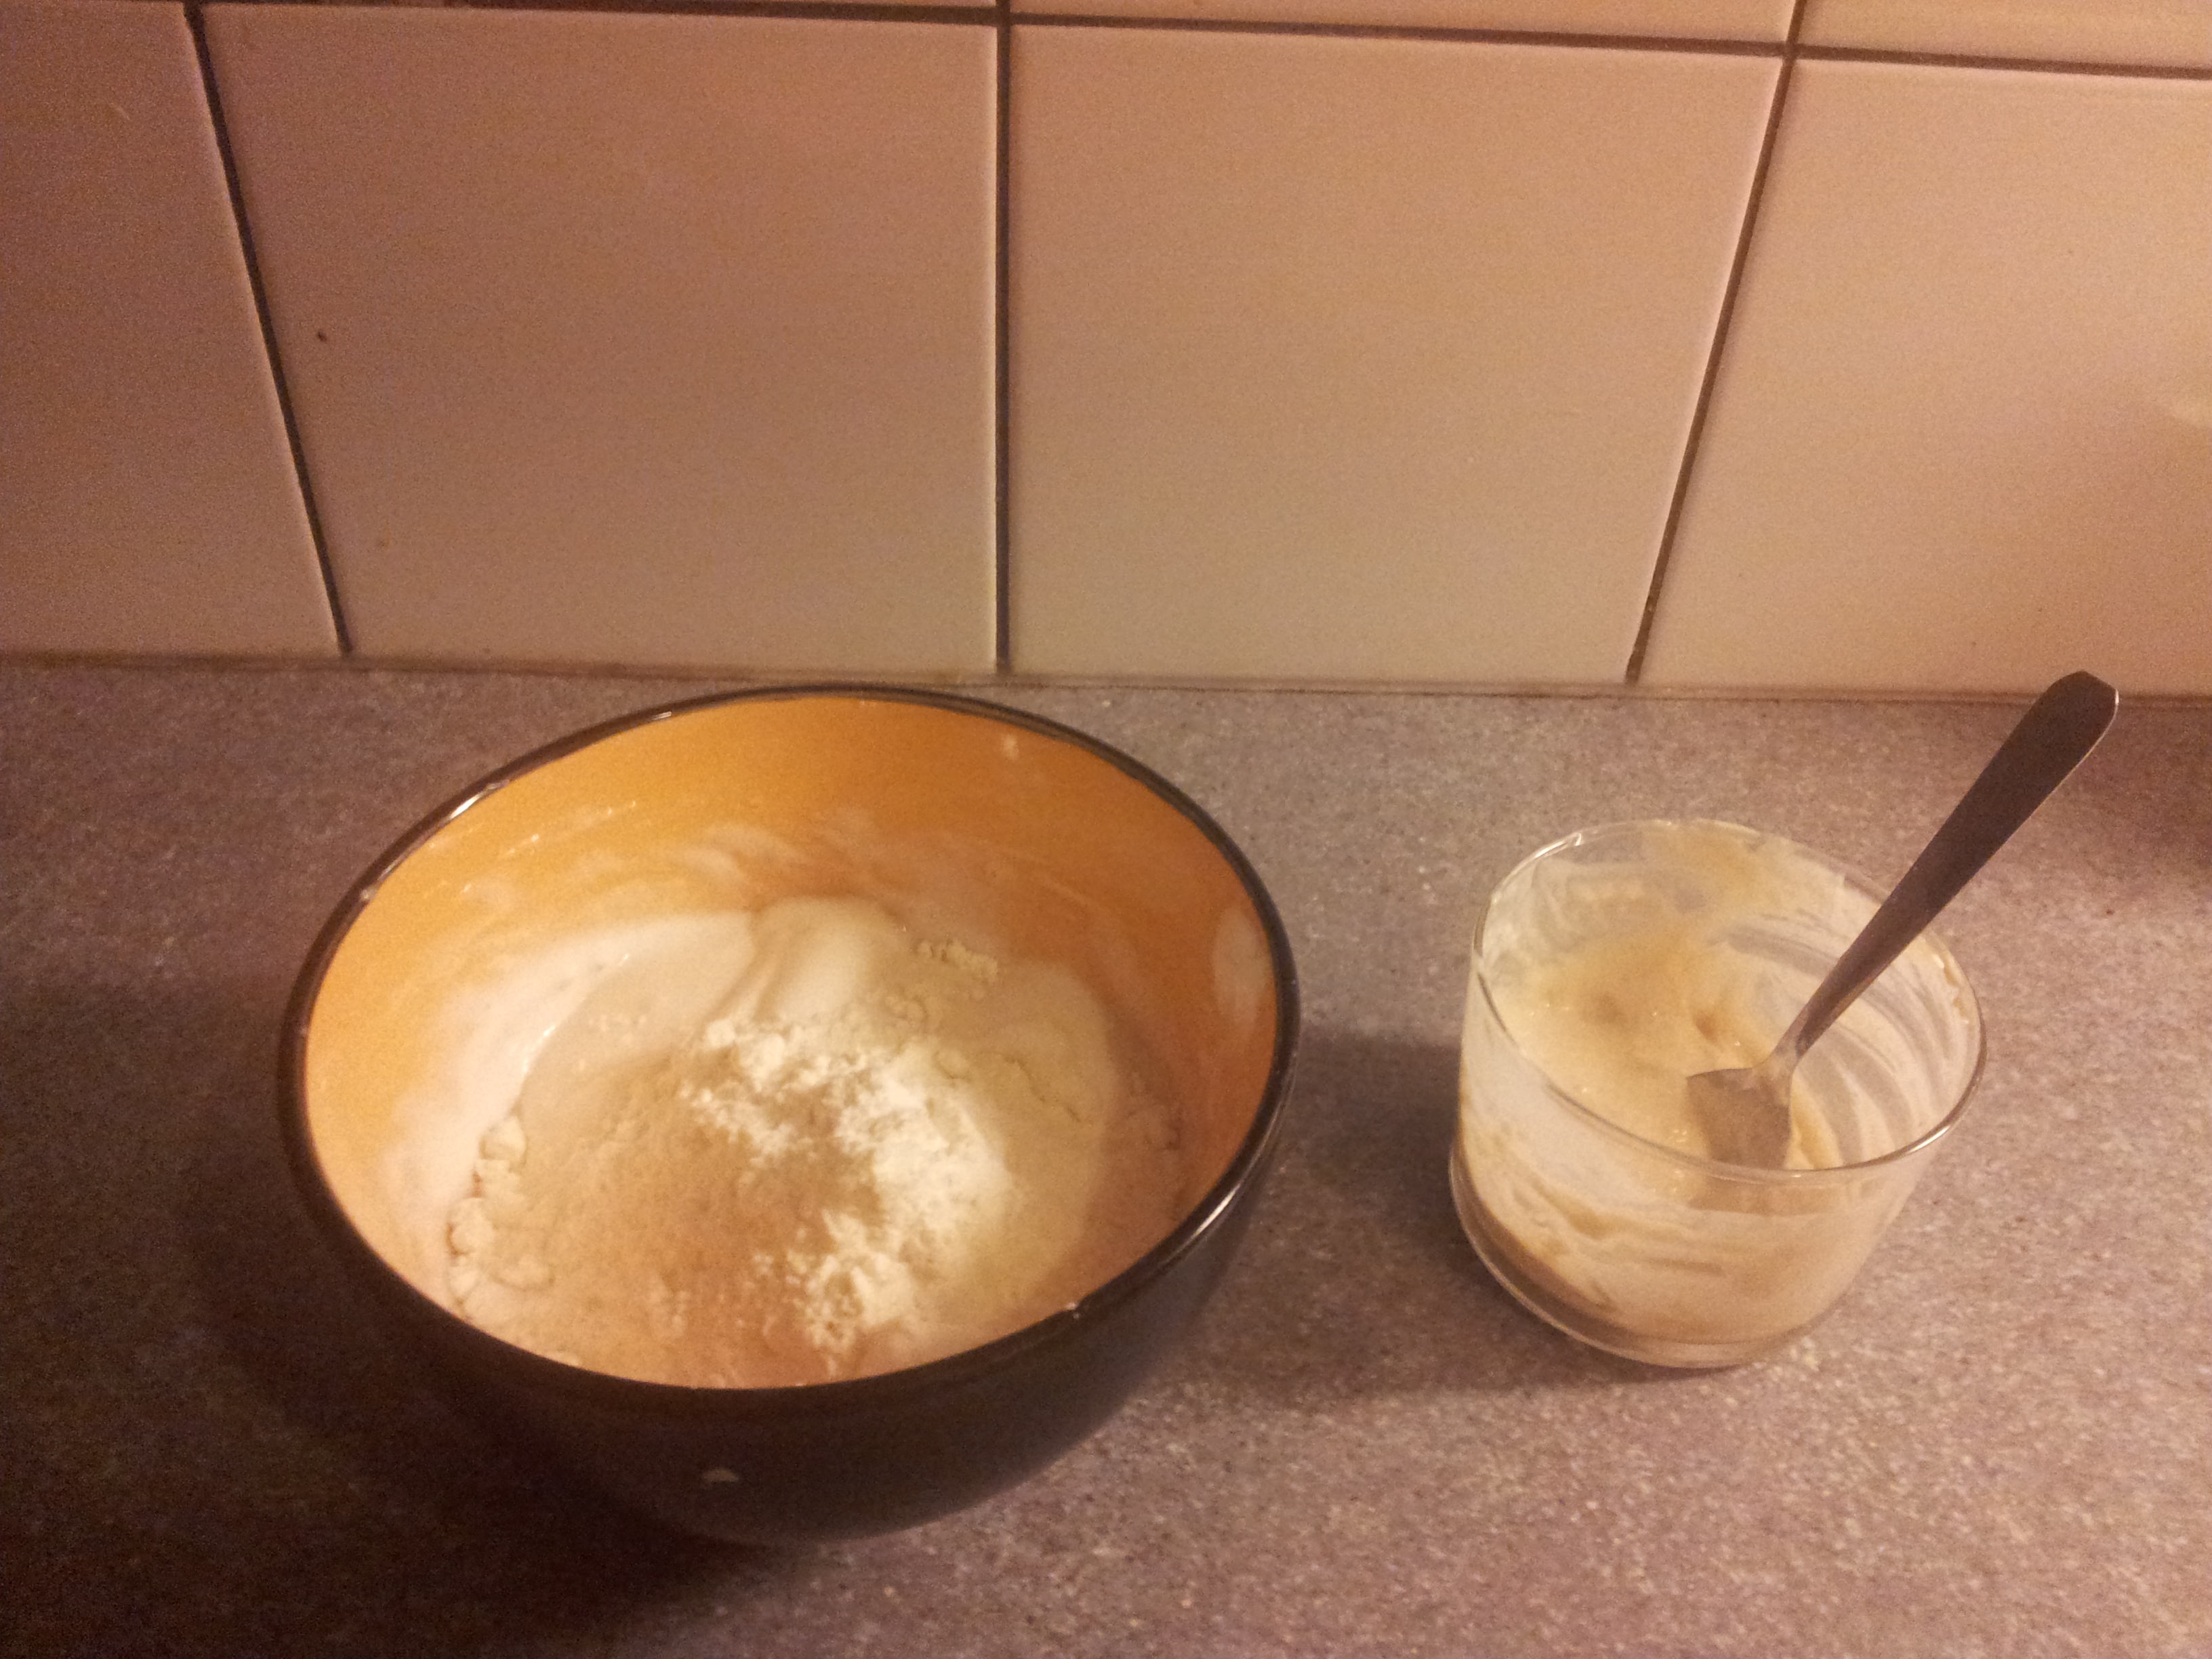
2015-01-17 15.53.08

2015-01-24 16.58.04

Filtered cream

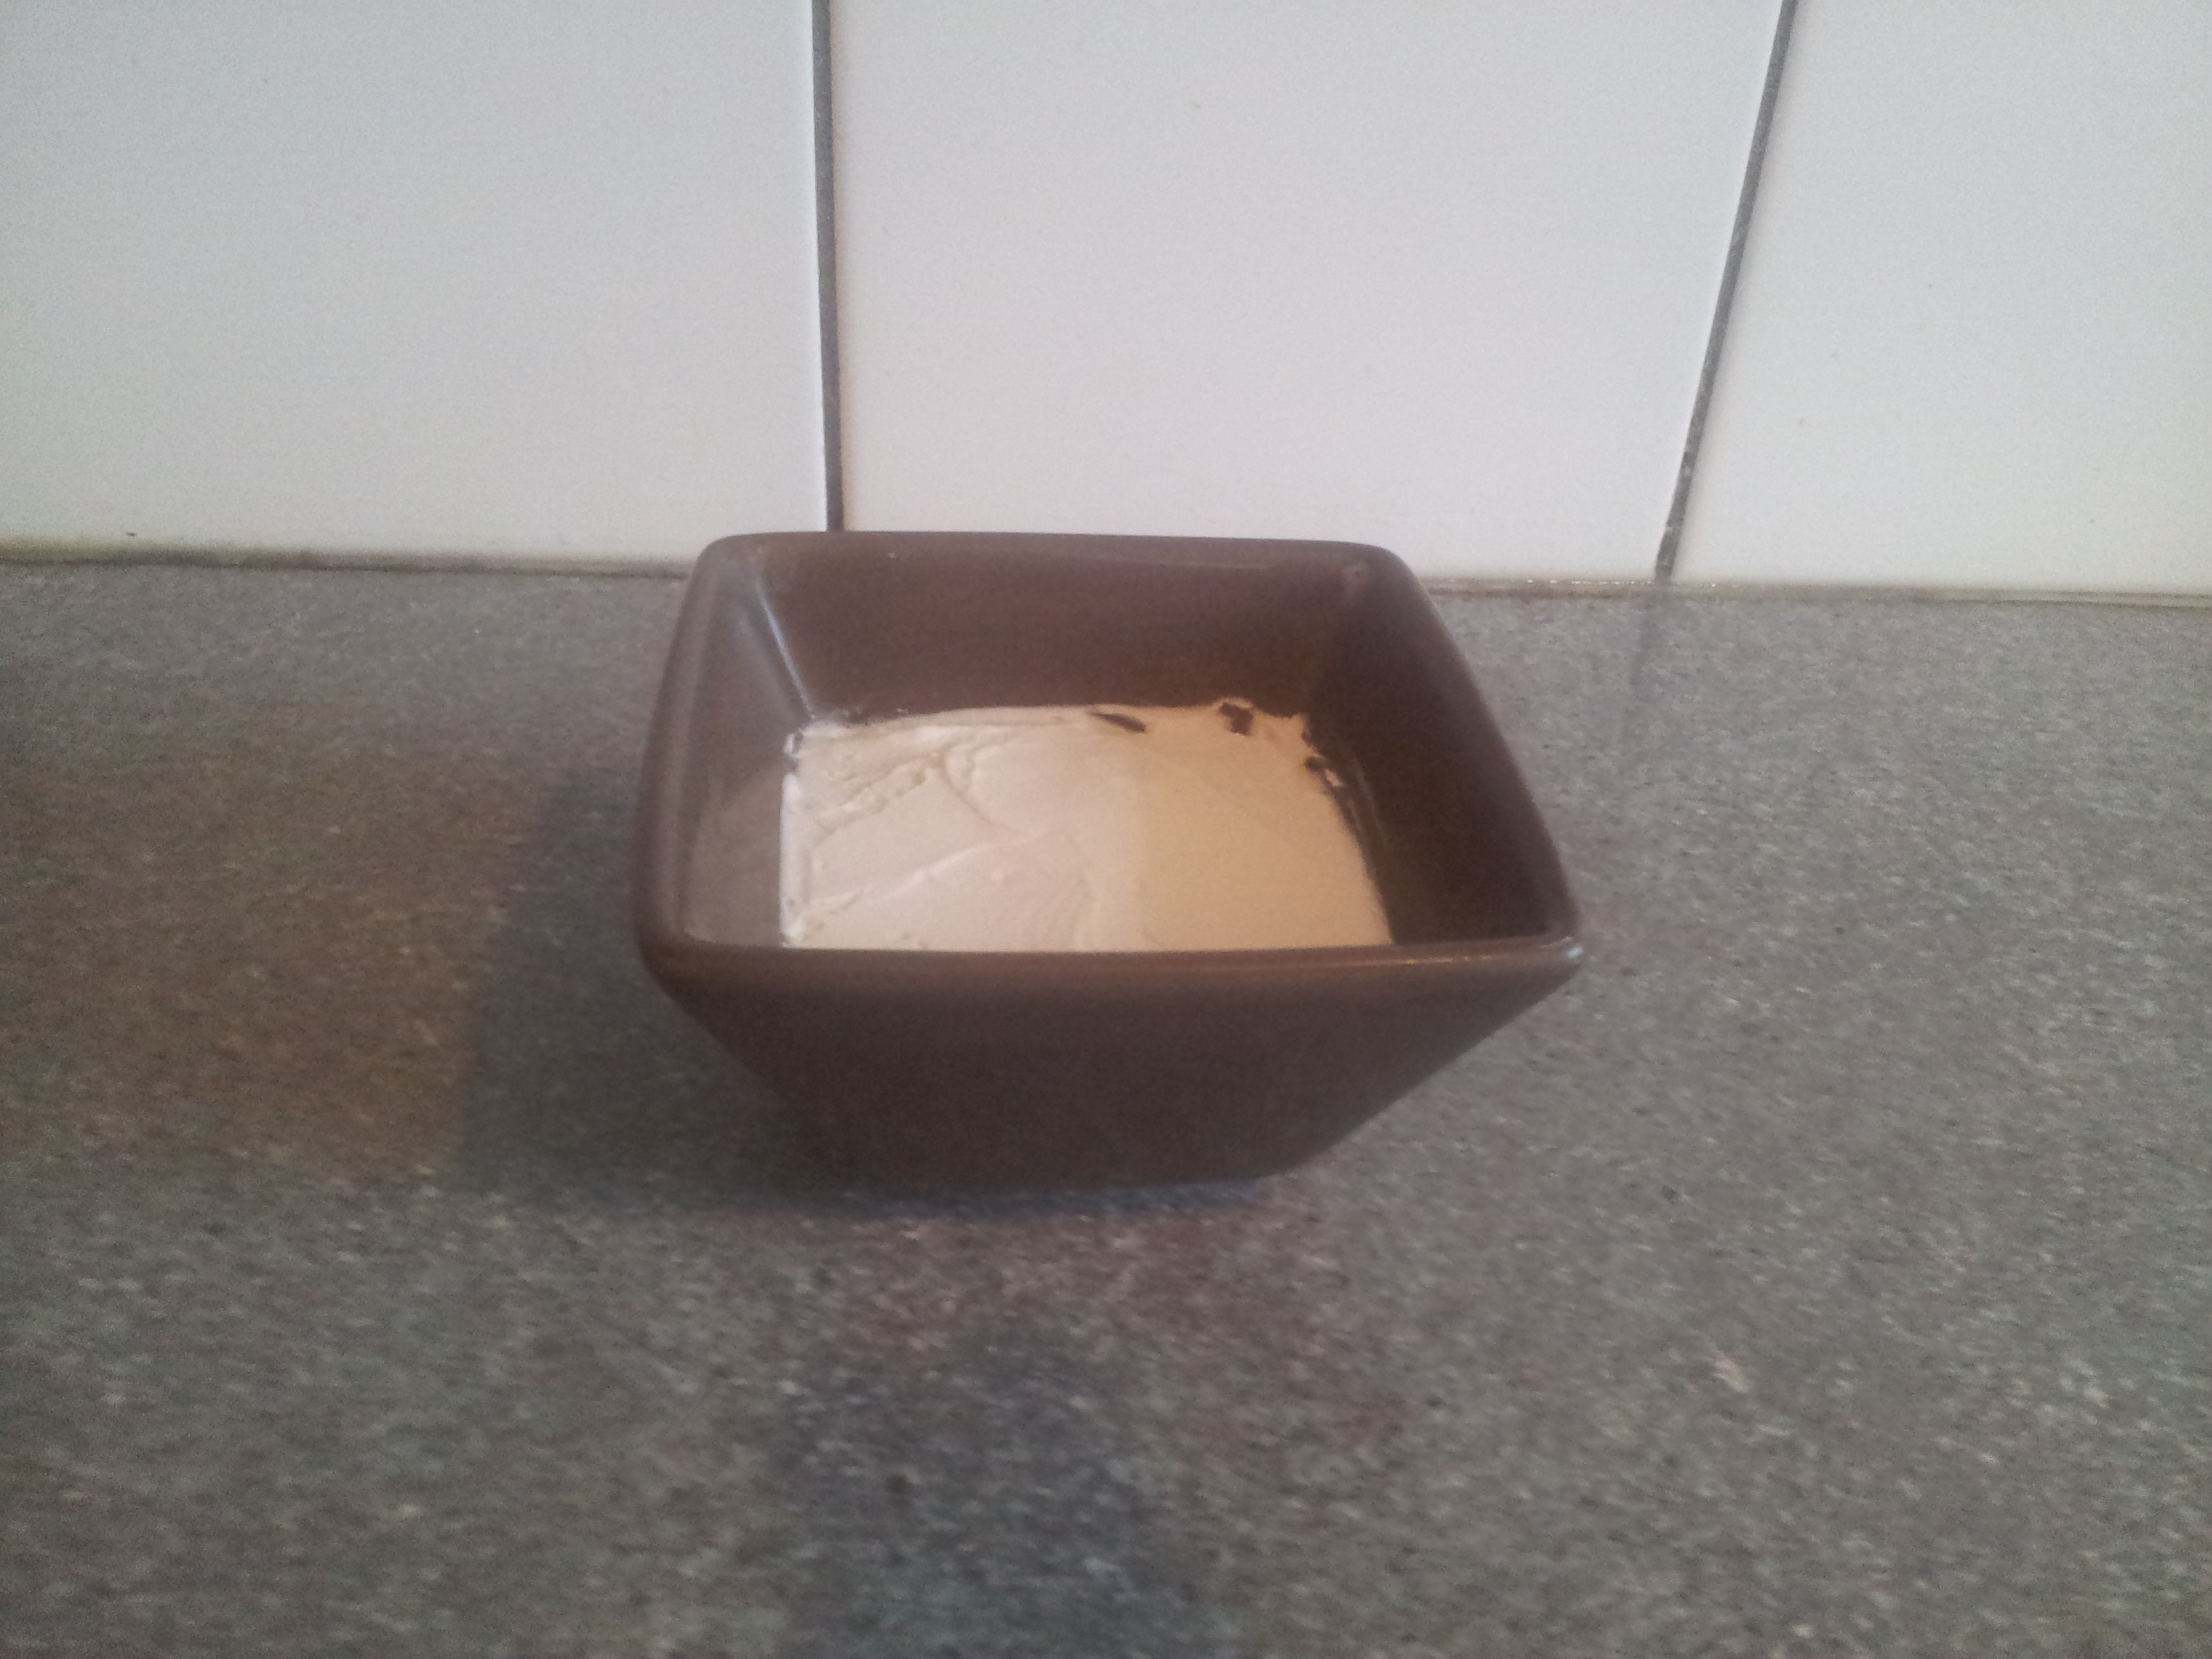
White butter – vegetal/vegan

As for sour cream, coco milk is the only one I know that gives a good result ! For your information, only saturated fats are solid at ambiant temperature (butter, coco oil, palm oil).

Now I’m informing, just know that for your recipes, if you’re using butter, you can replace it with oil : in fact, when you’re melting butter, the “solid” quality is not used, only the taste! It’s actually better for your health 🙂

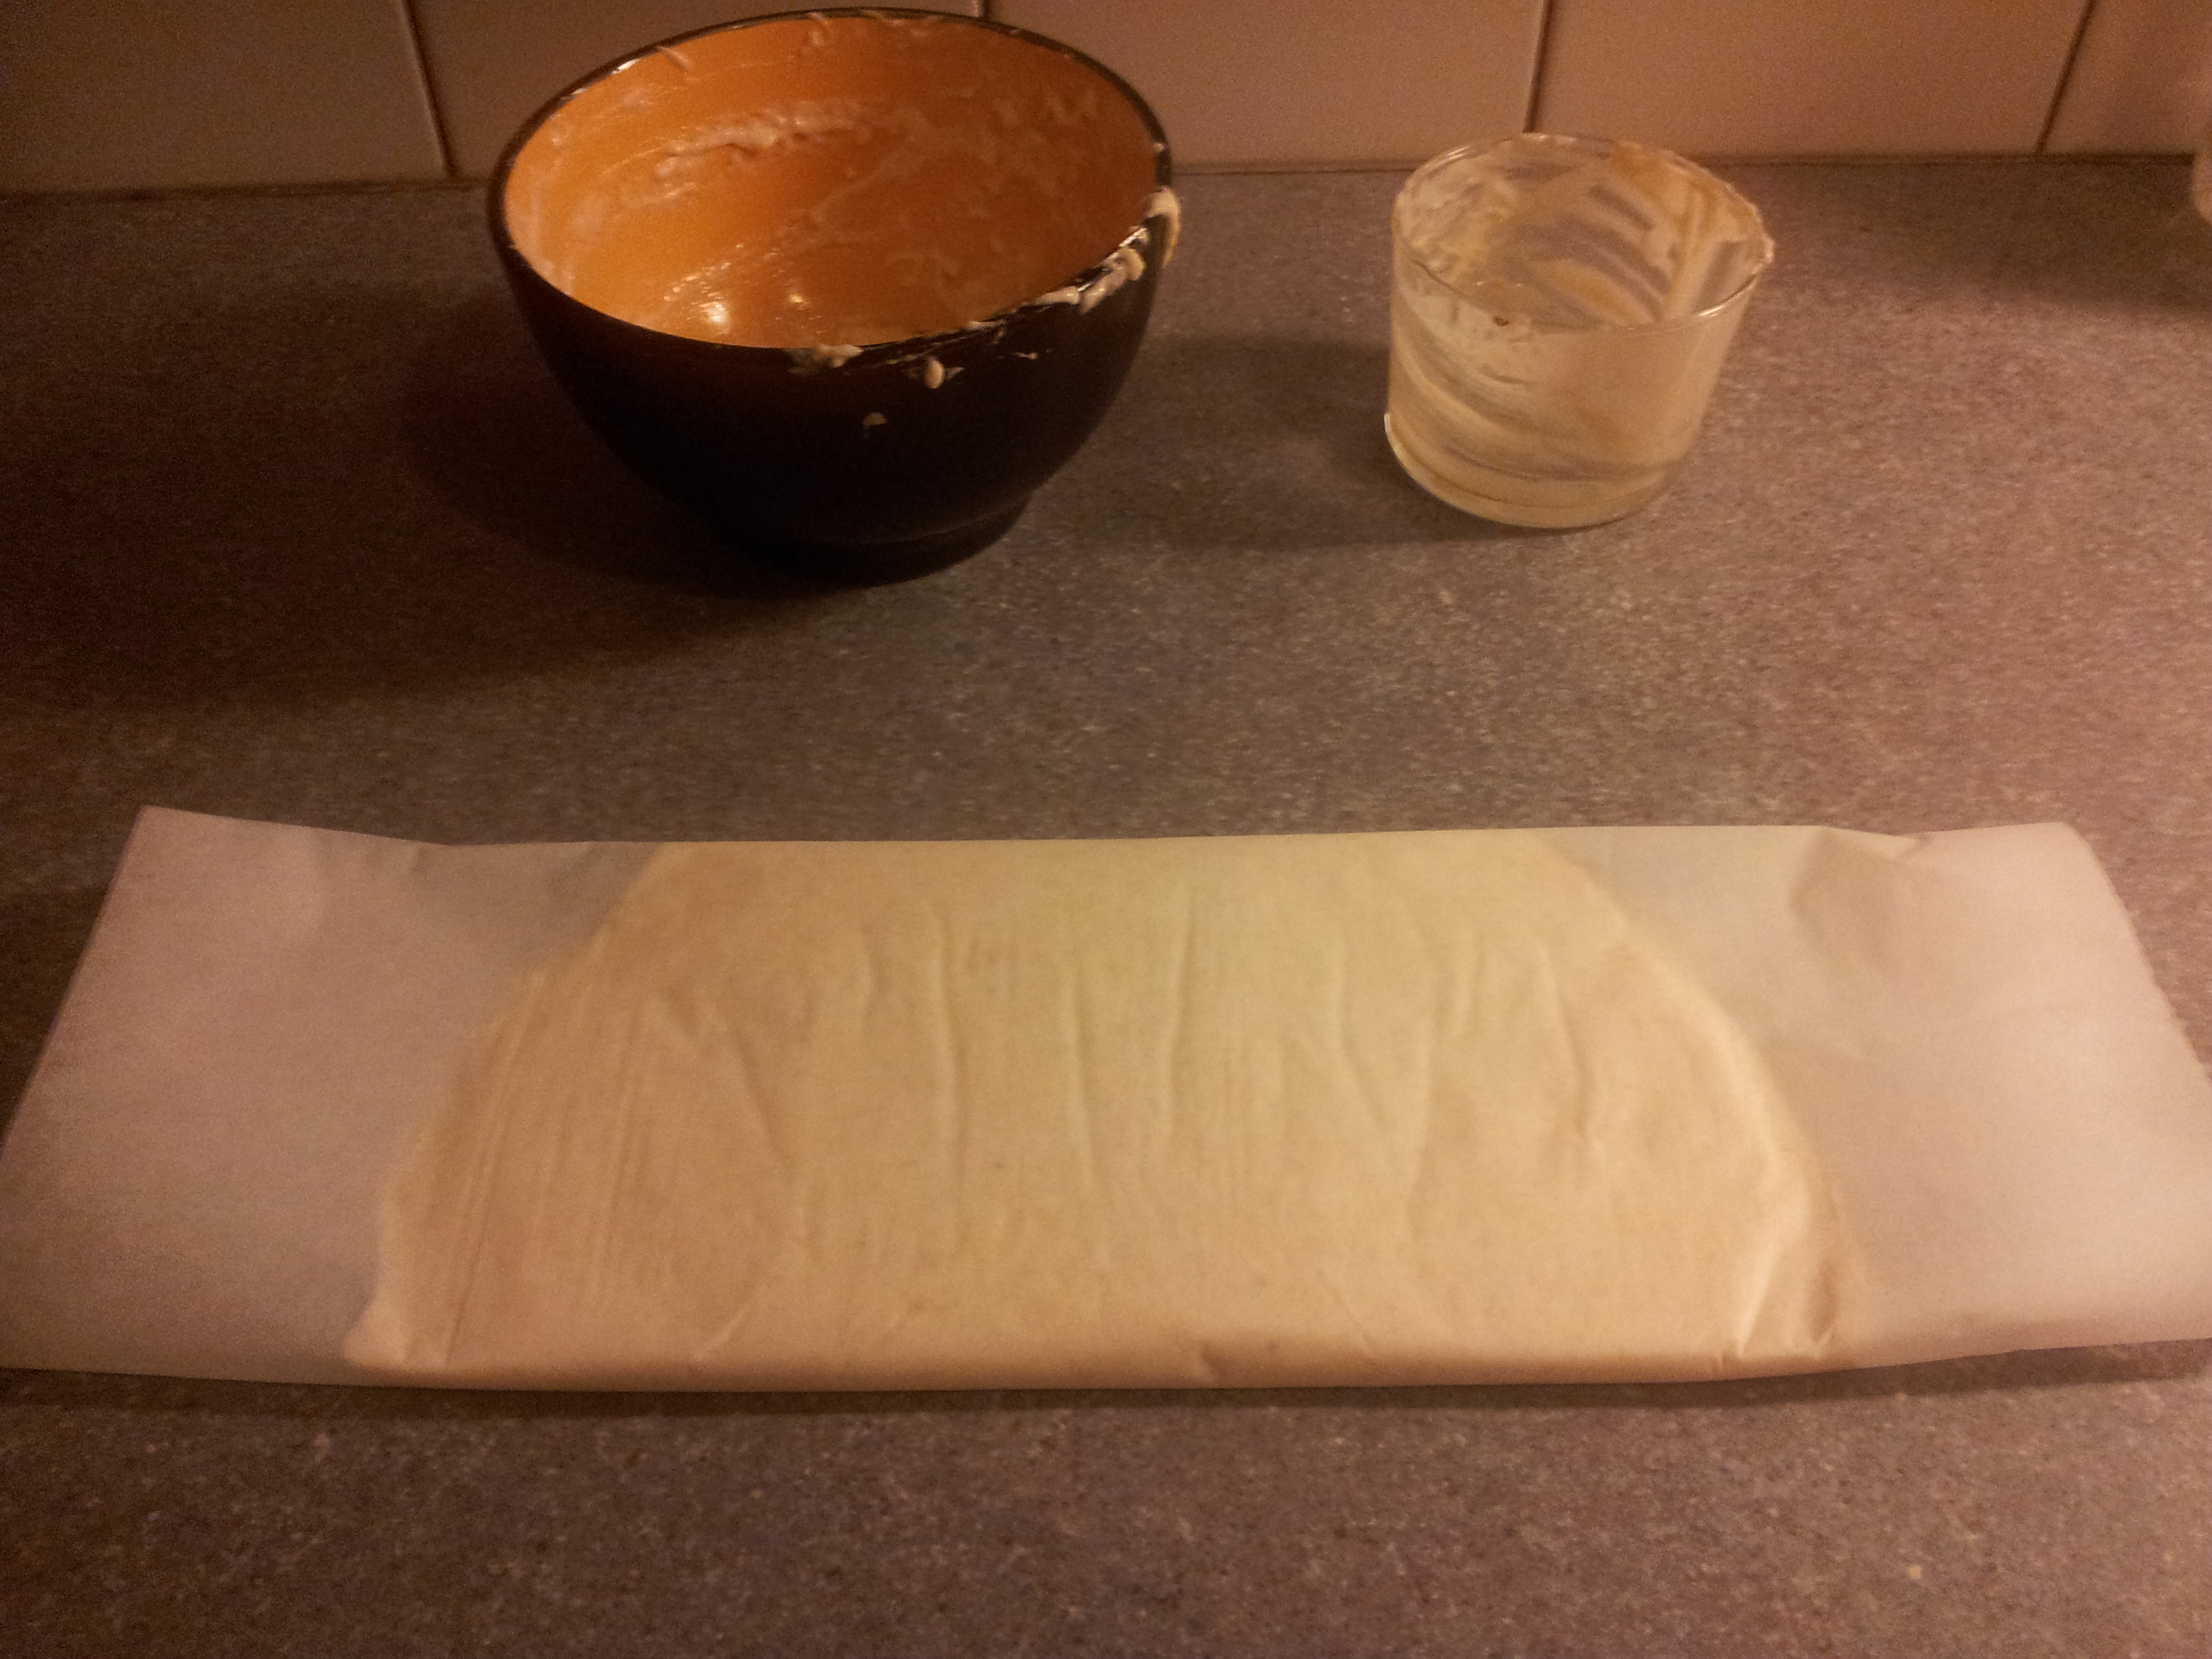
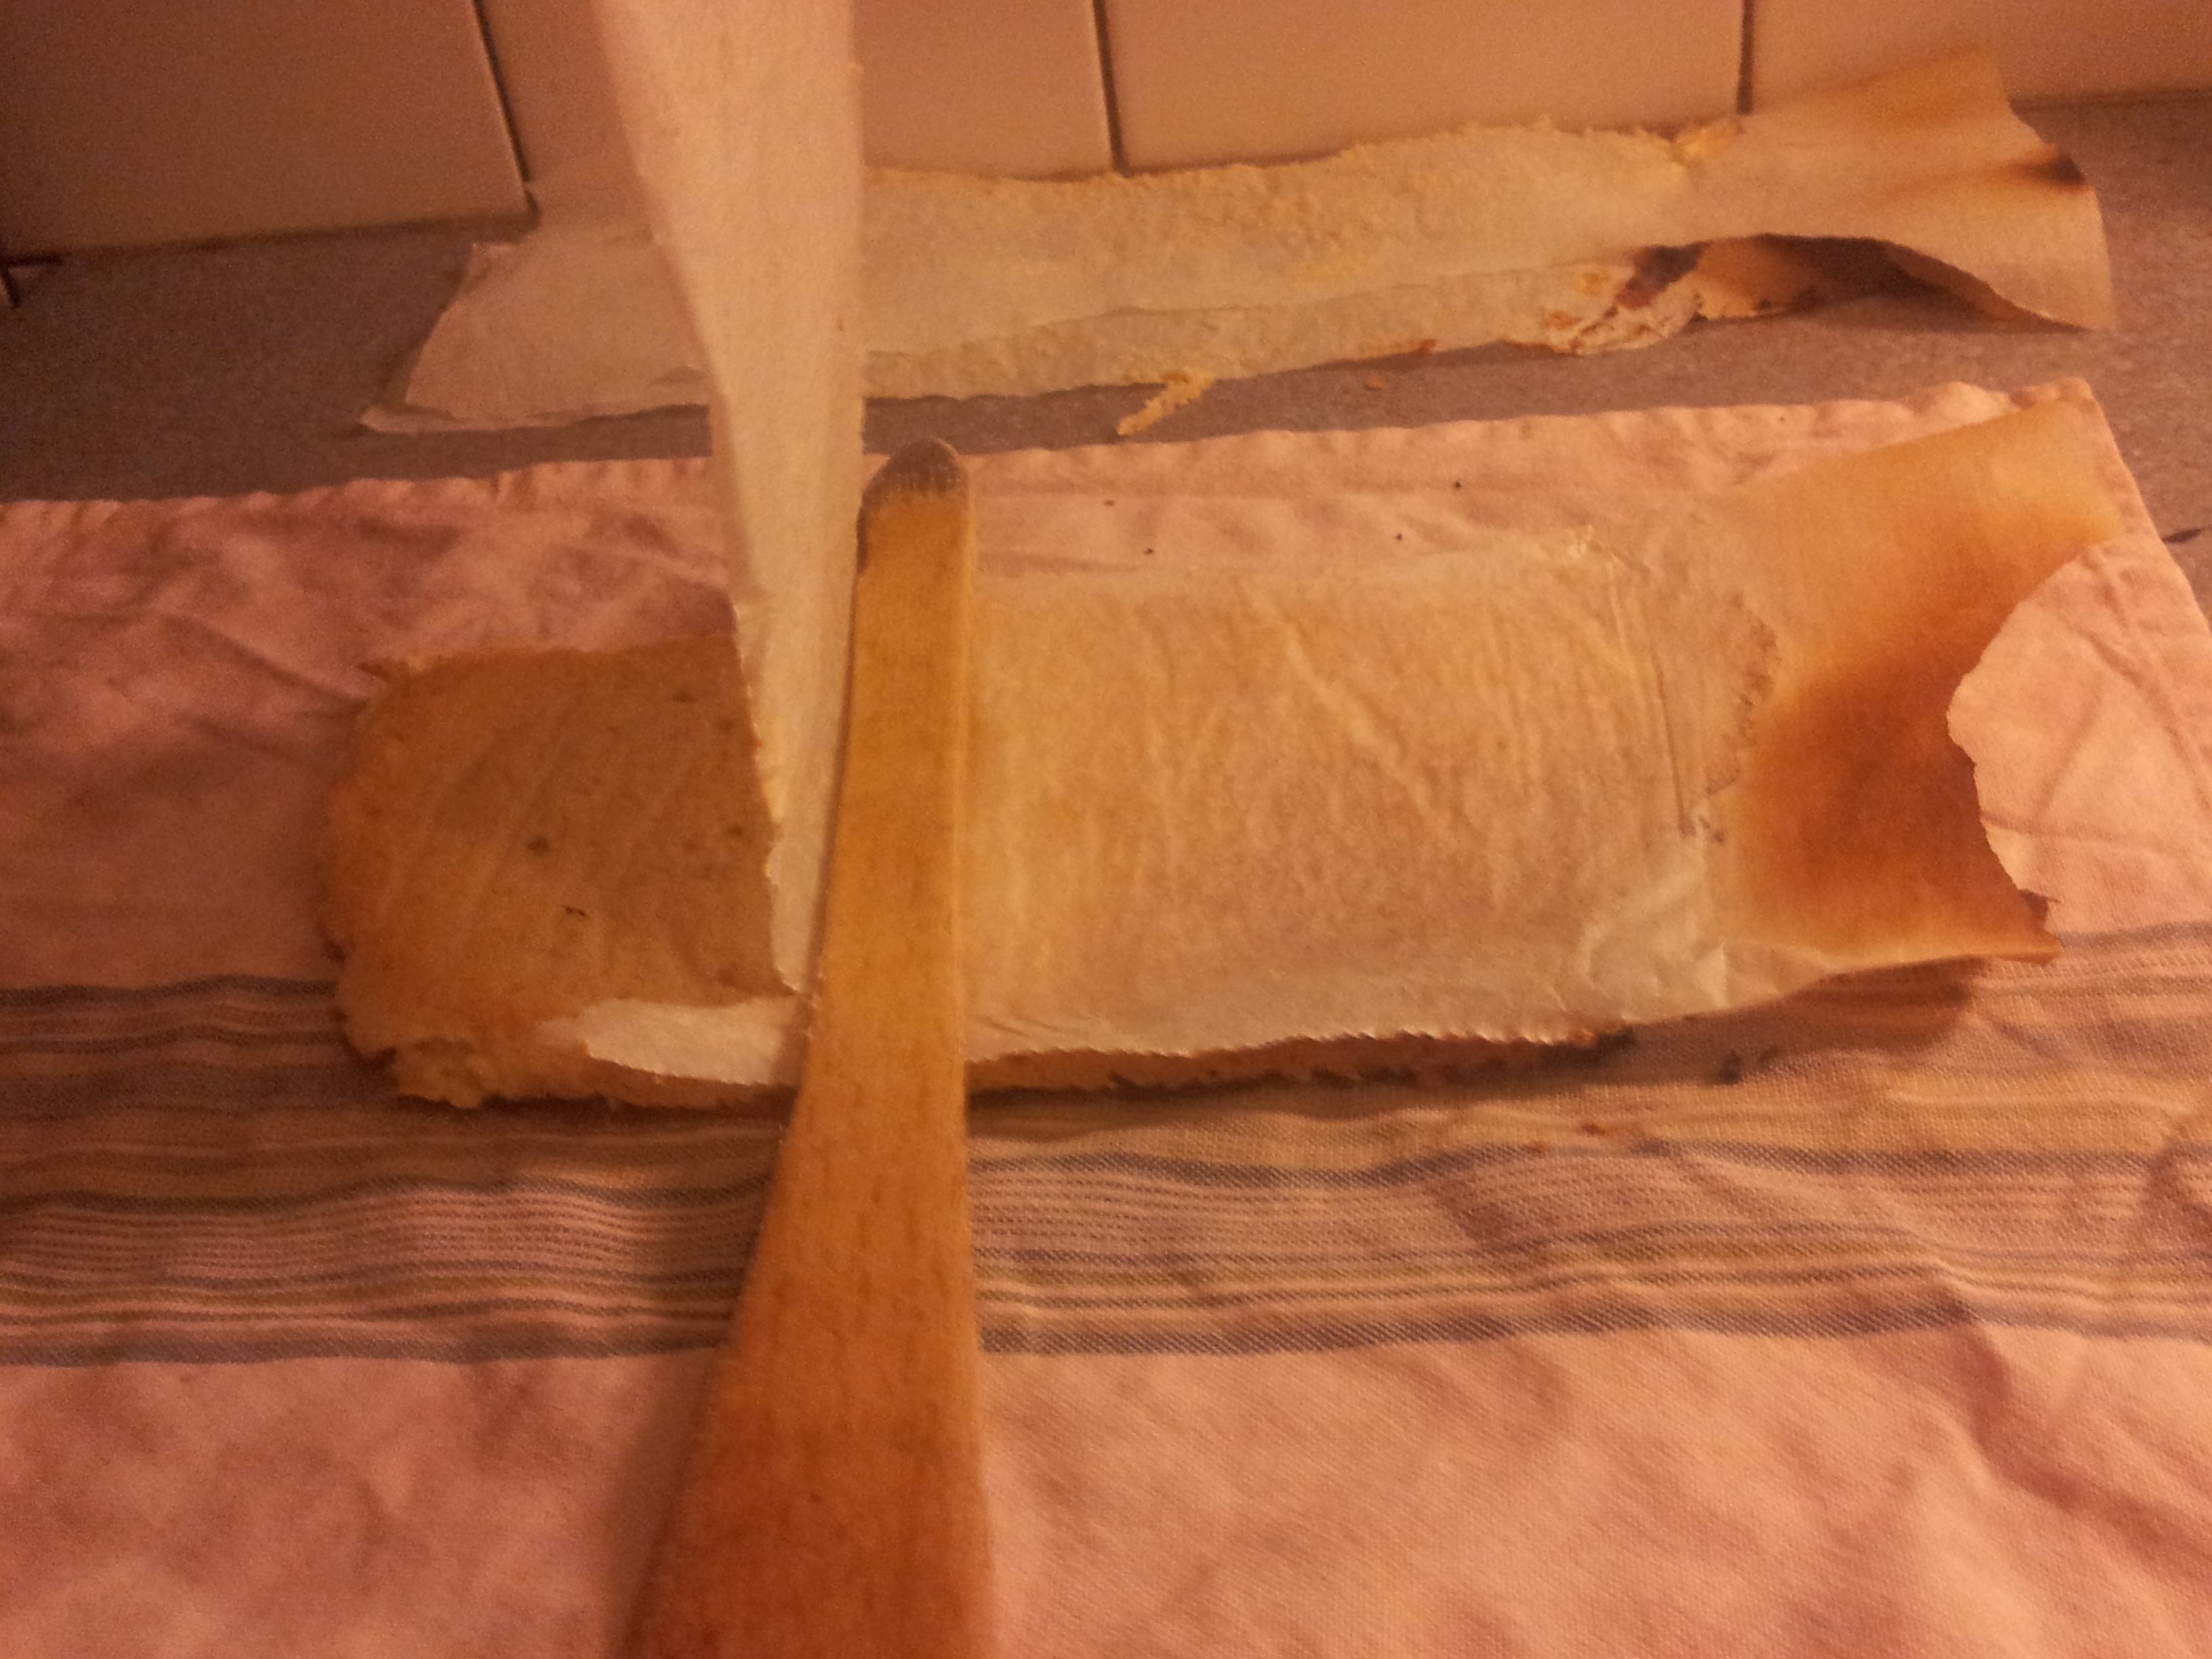
Well, white butter: the steps are exactly those of the cream, and then the cream obtained is filtered and dried two days in a refrigerator.

Churning the butter is useless here. I already tried (with electric mixer) the result is simpler to filter, but I havn’t seen any taste value. If you do not agree, give me how and why! Thank you!

Note 1: It is certainly possible to add grains of salt, but I confess not to be fond of it and do not want to try it…(but surely will increase its conservation)

Note 2: Treat yourself with your toasts or your radishes, butter does not keep for very long! 🙂

2015-01-28 12.17.442015-01-28 12.20.04
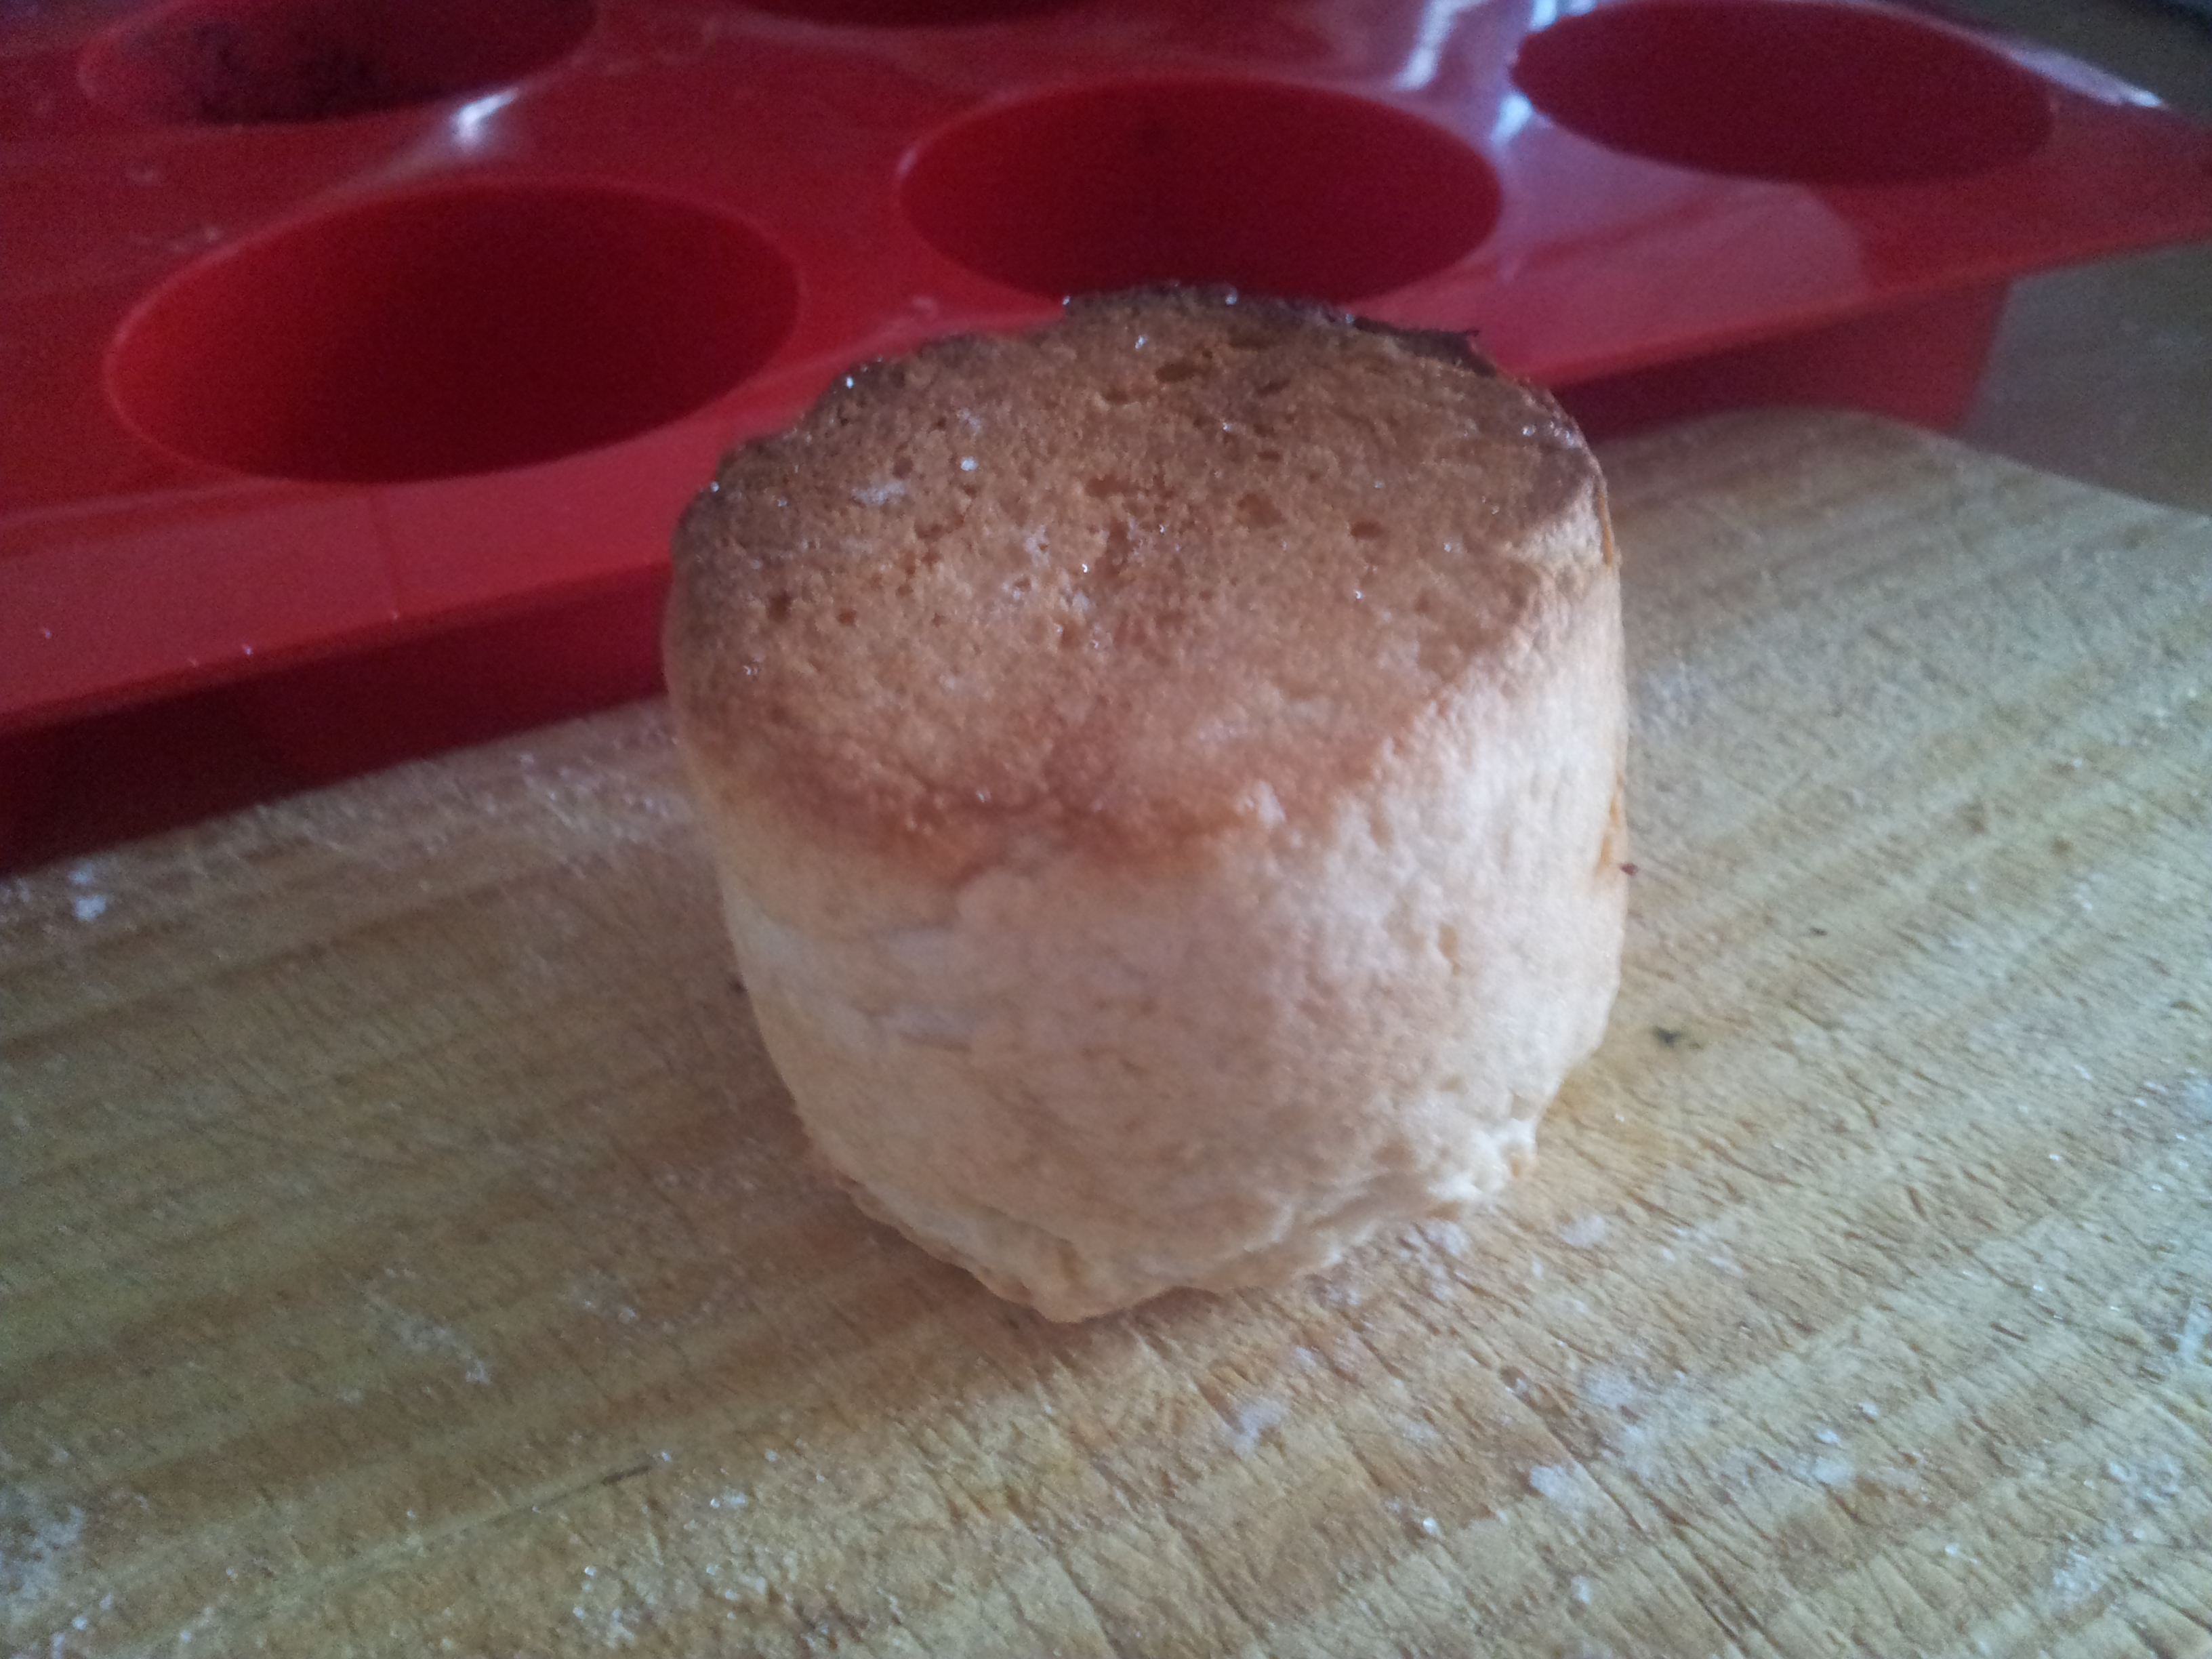
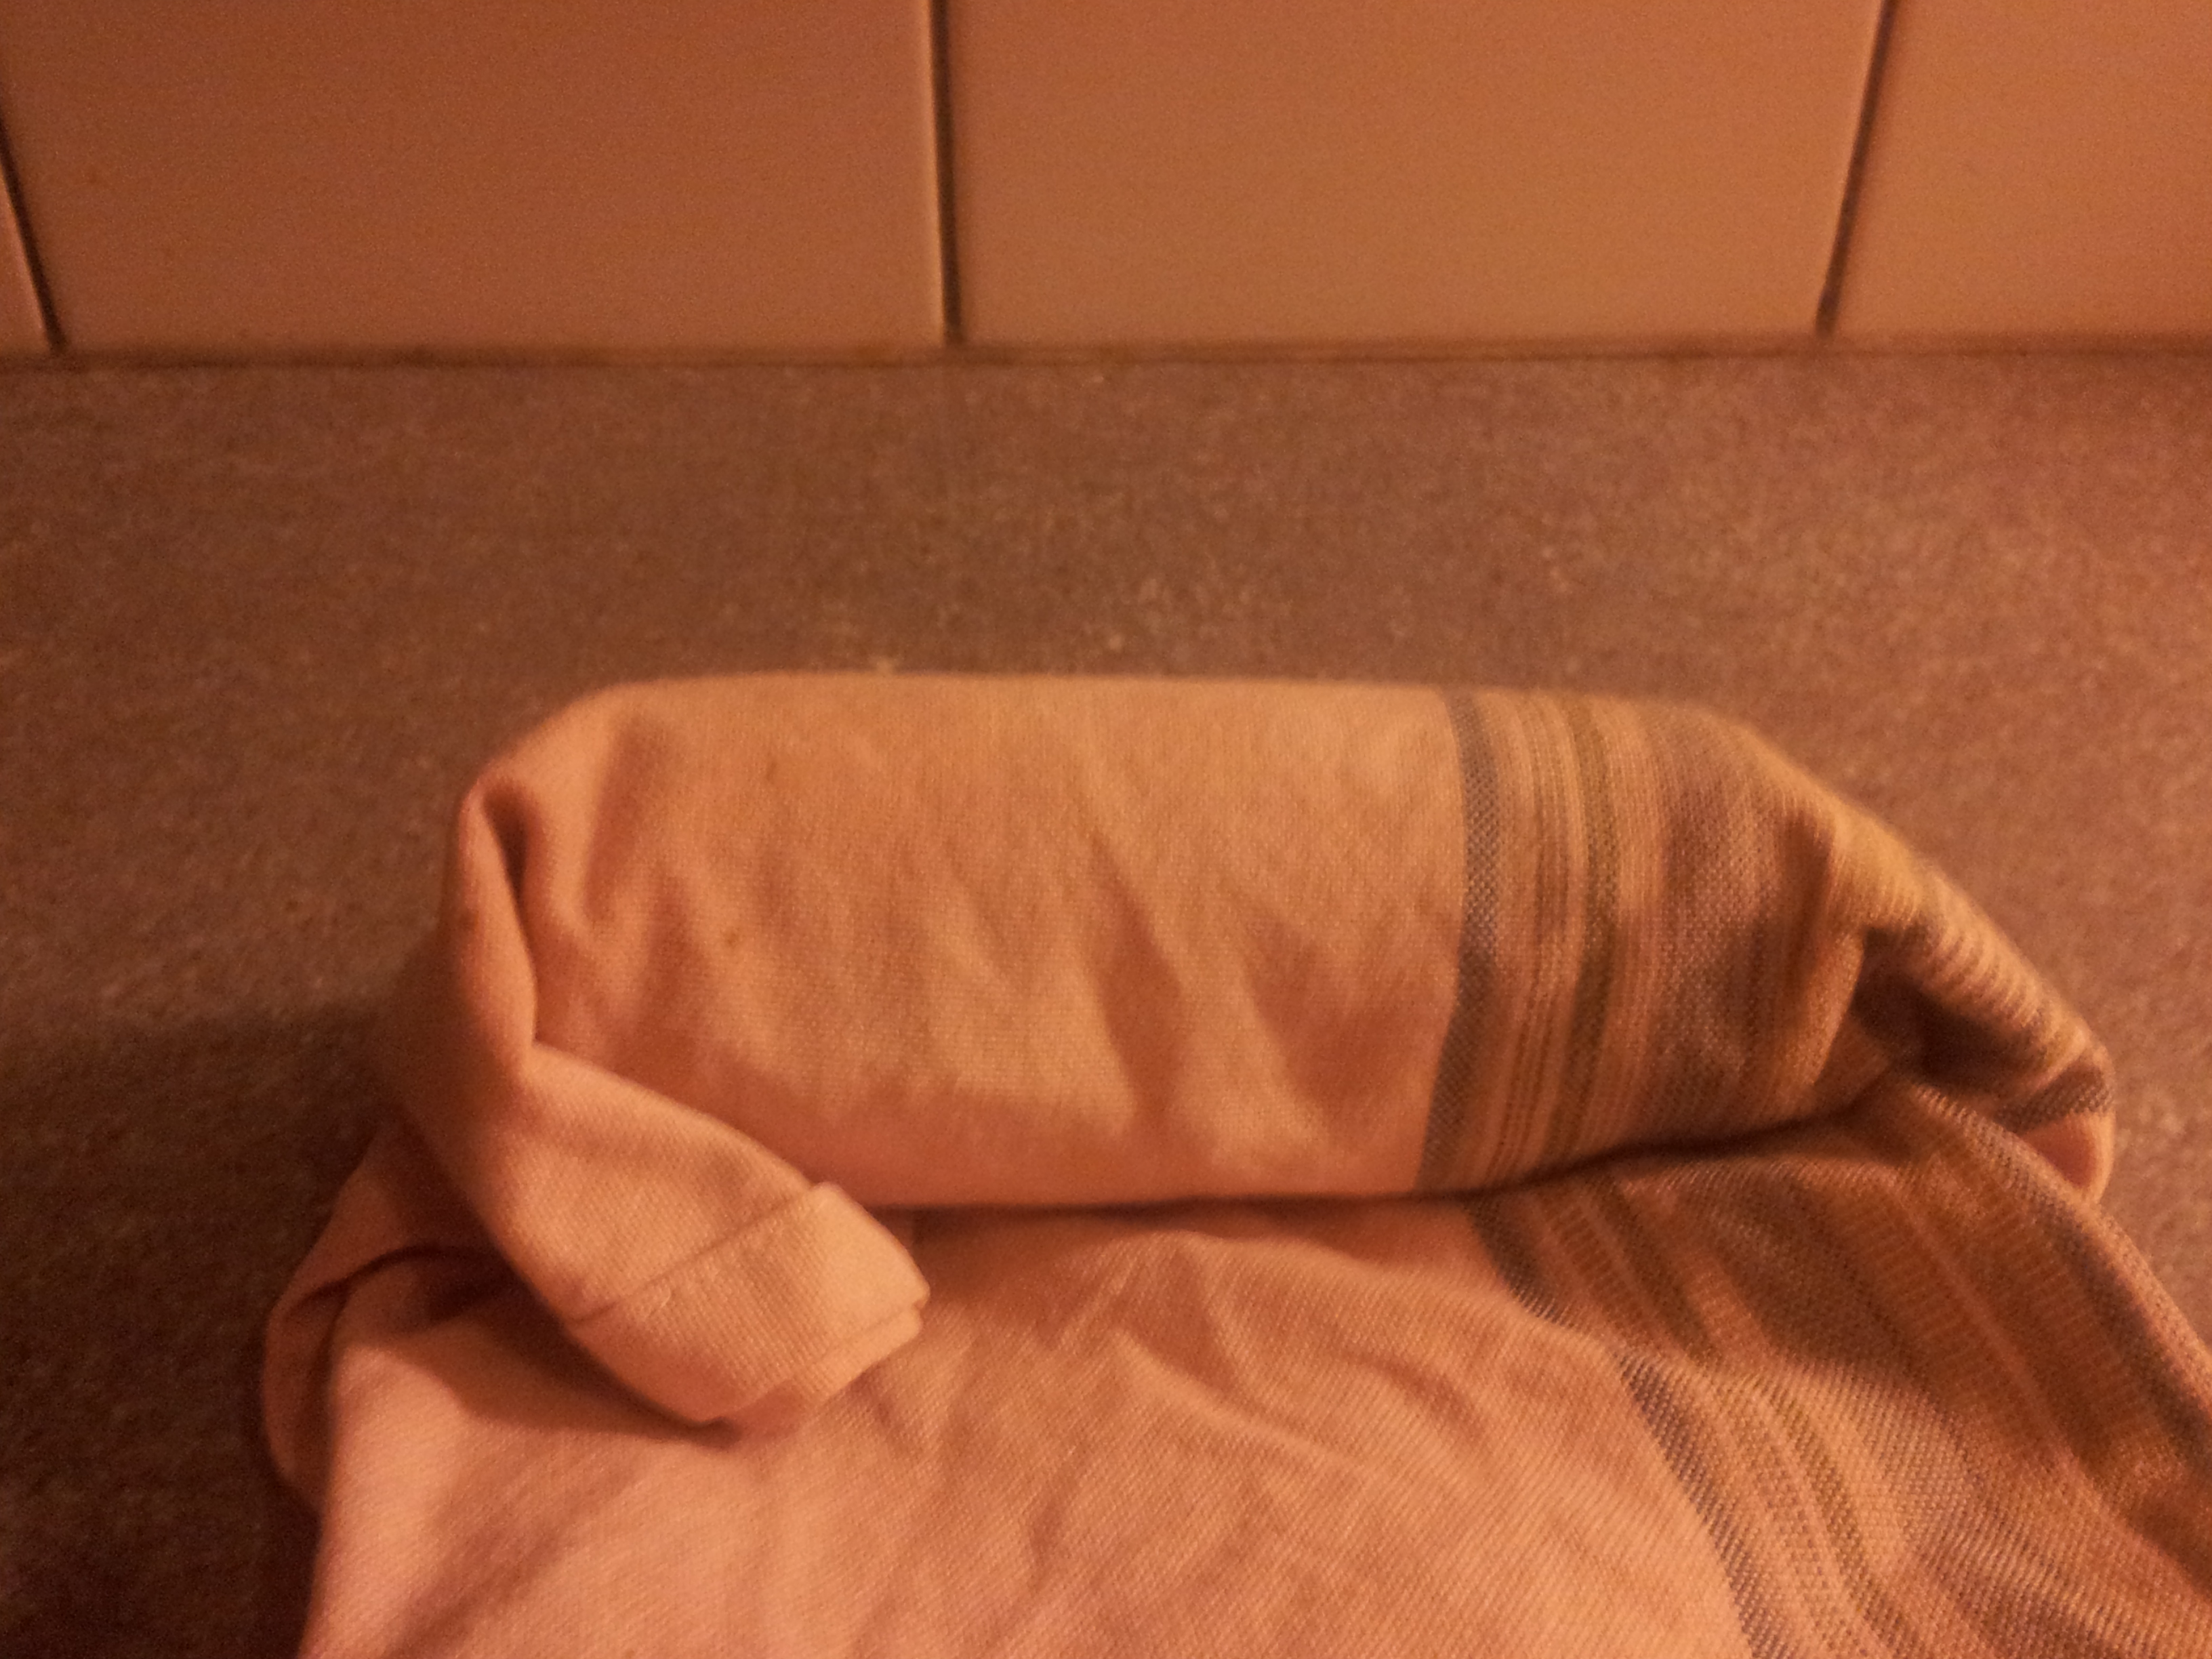
Butter once detached from the filter and then once packed
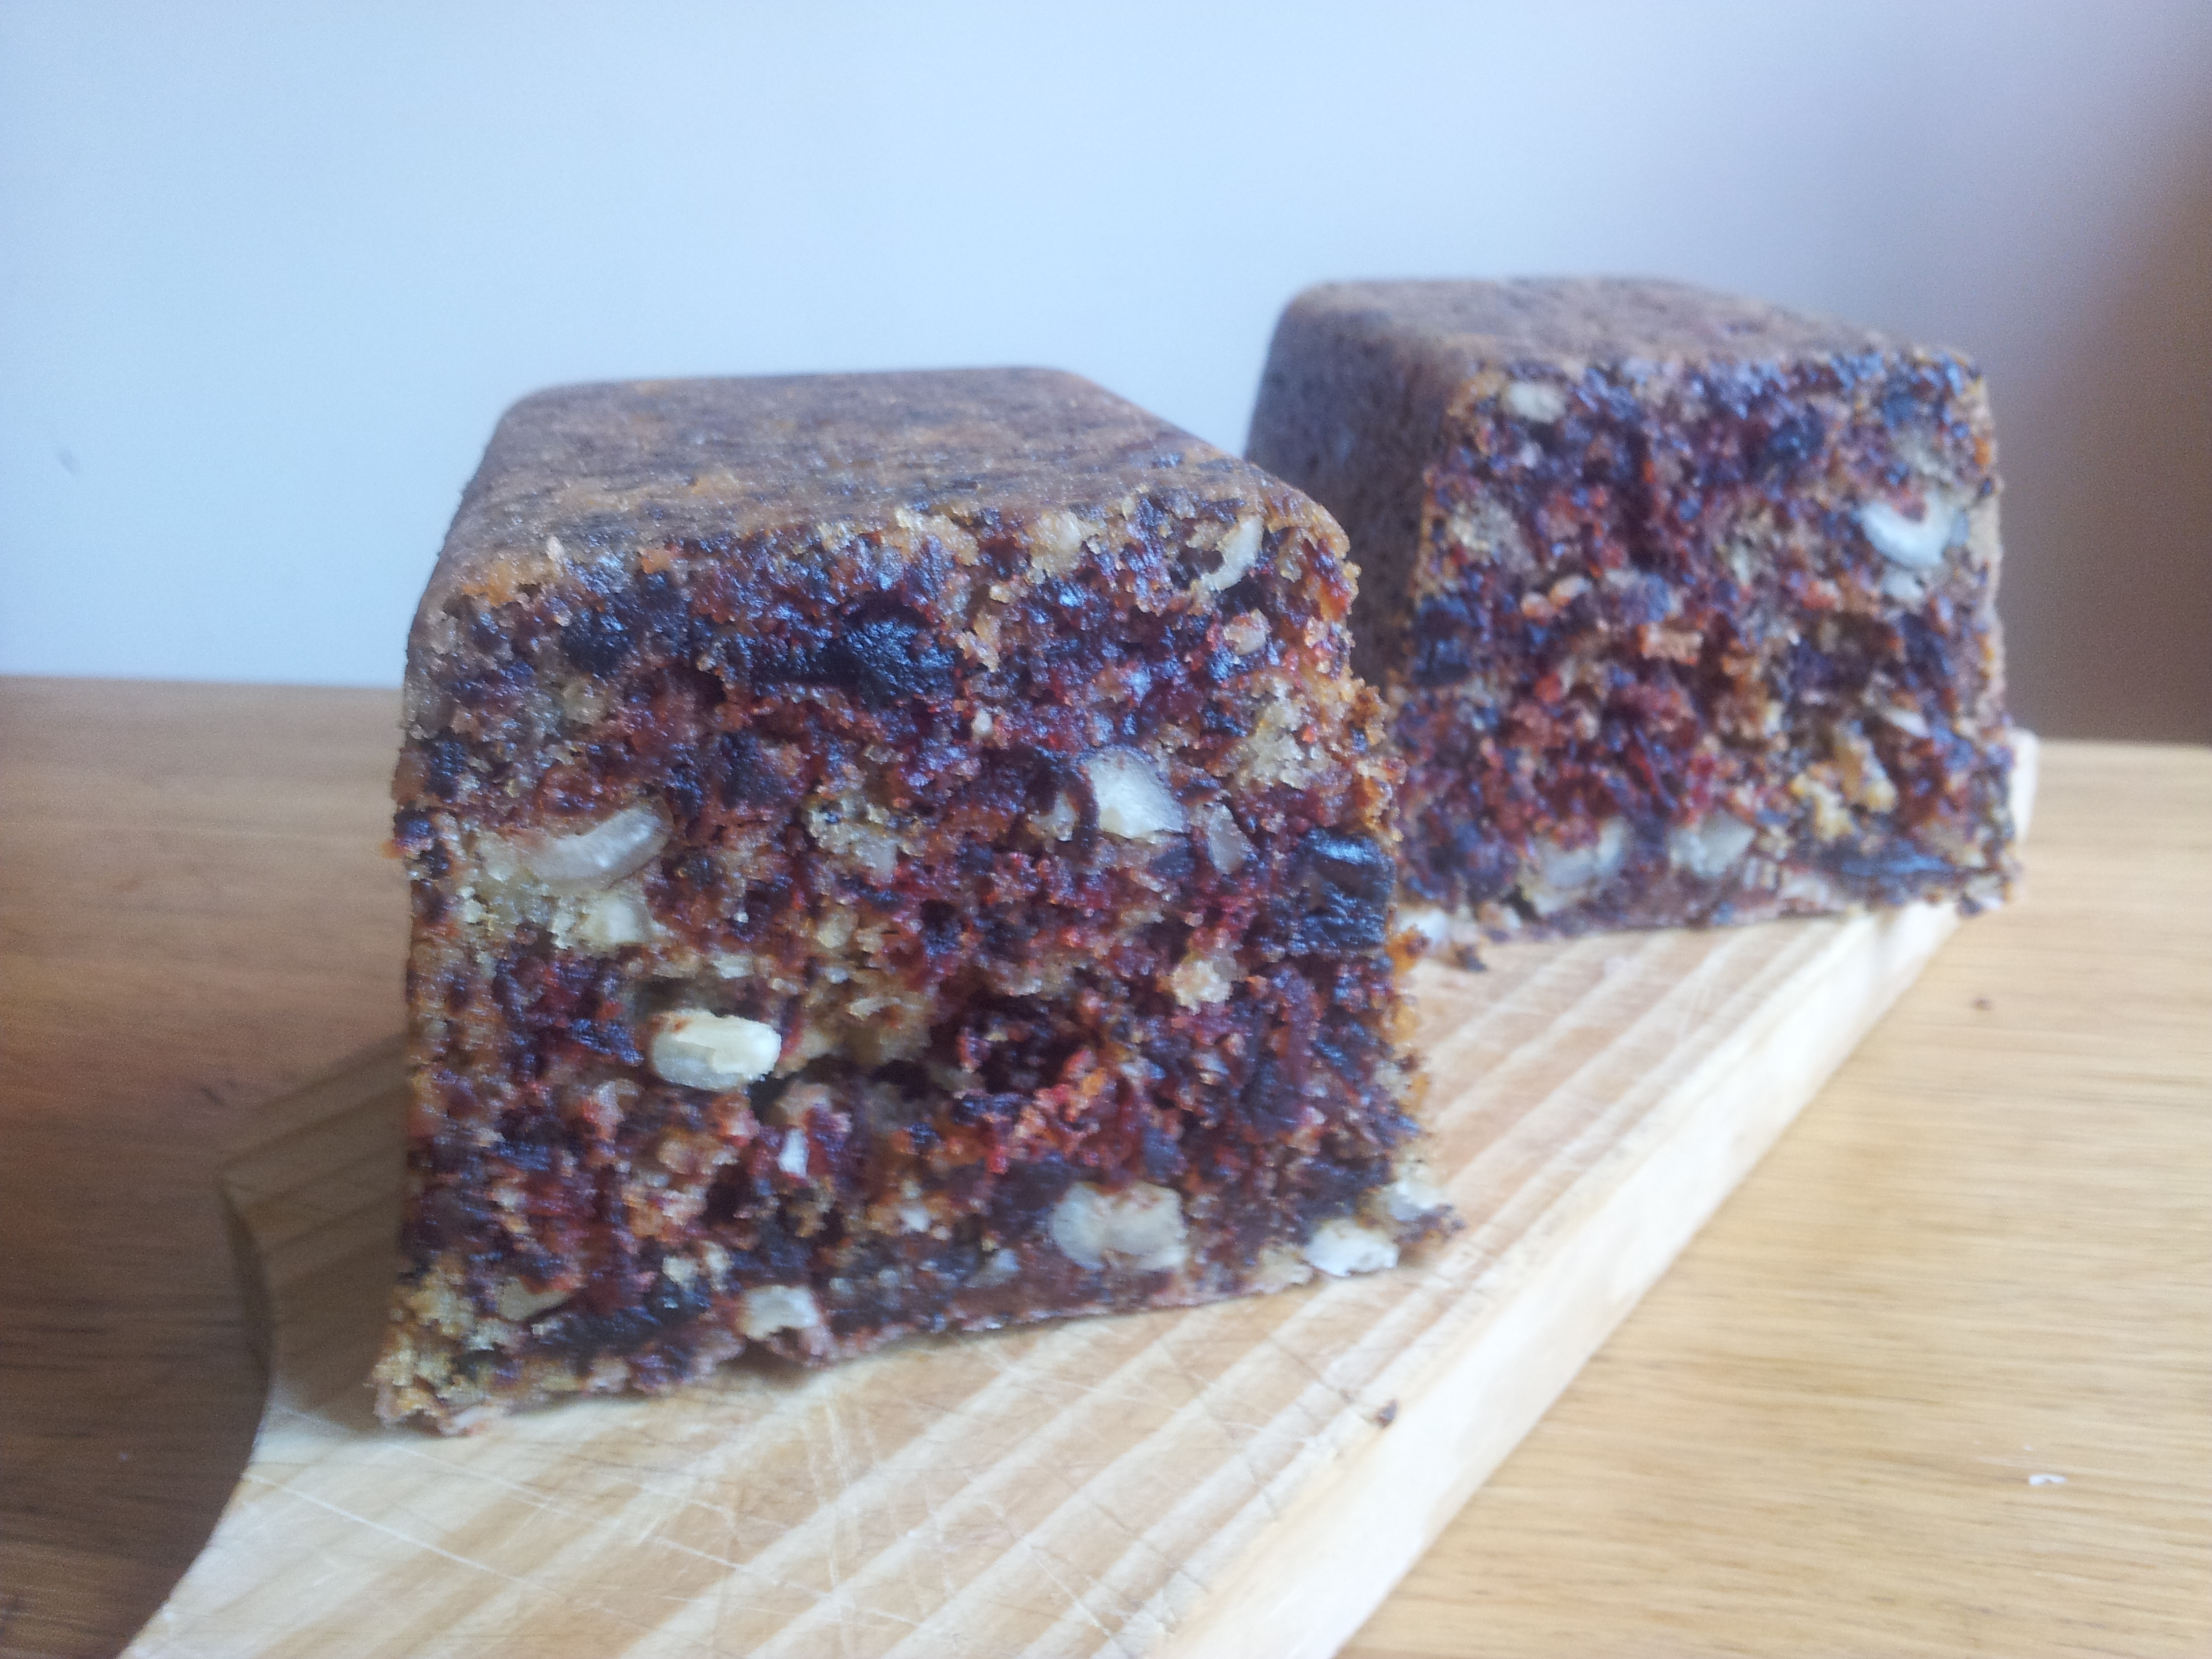
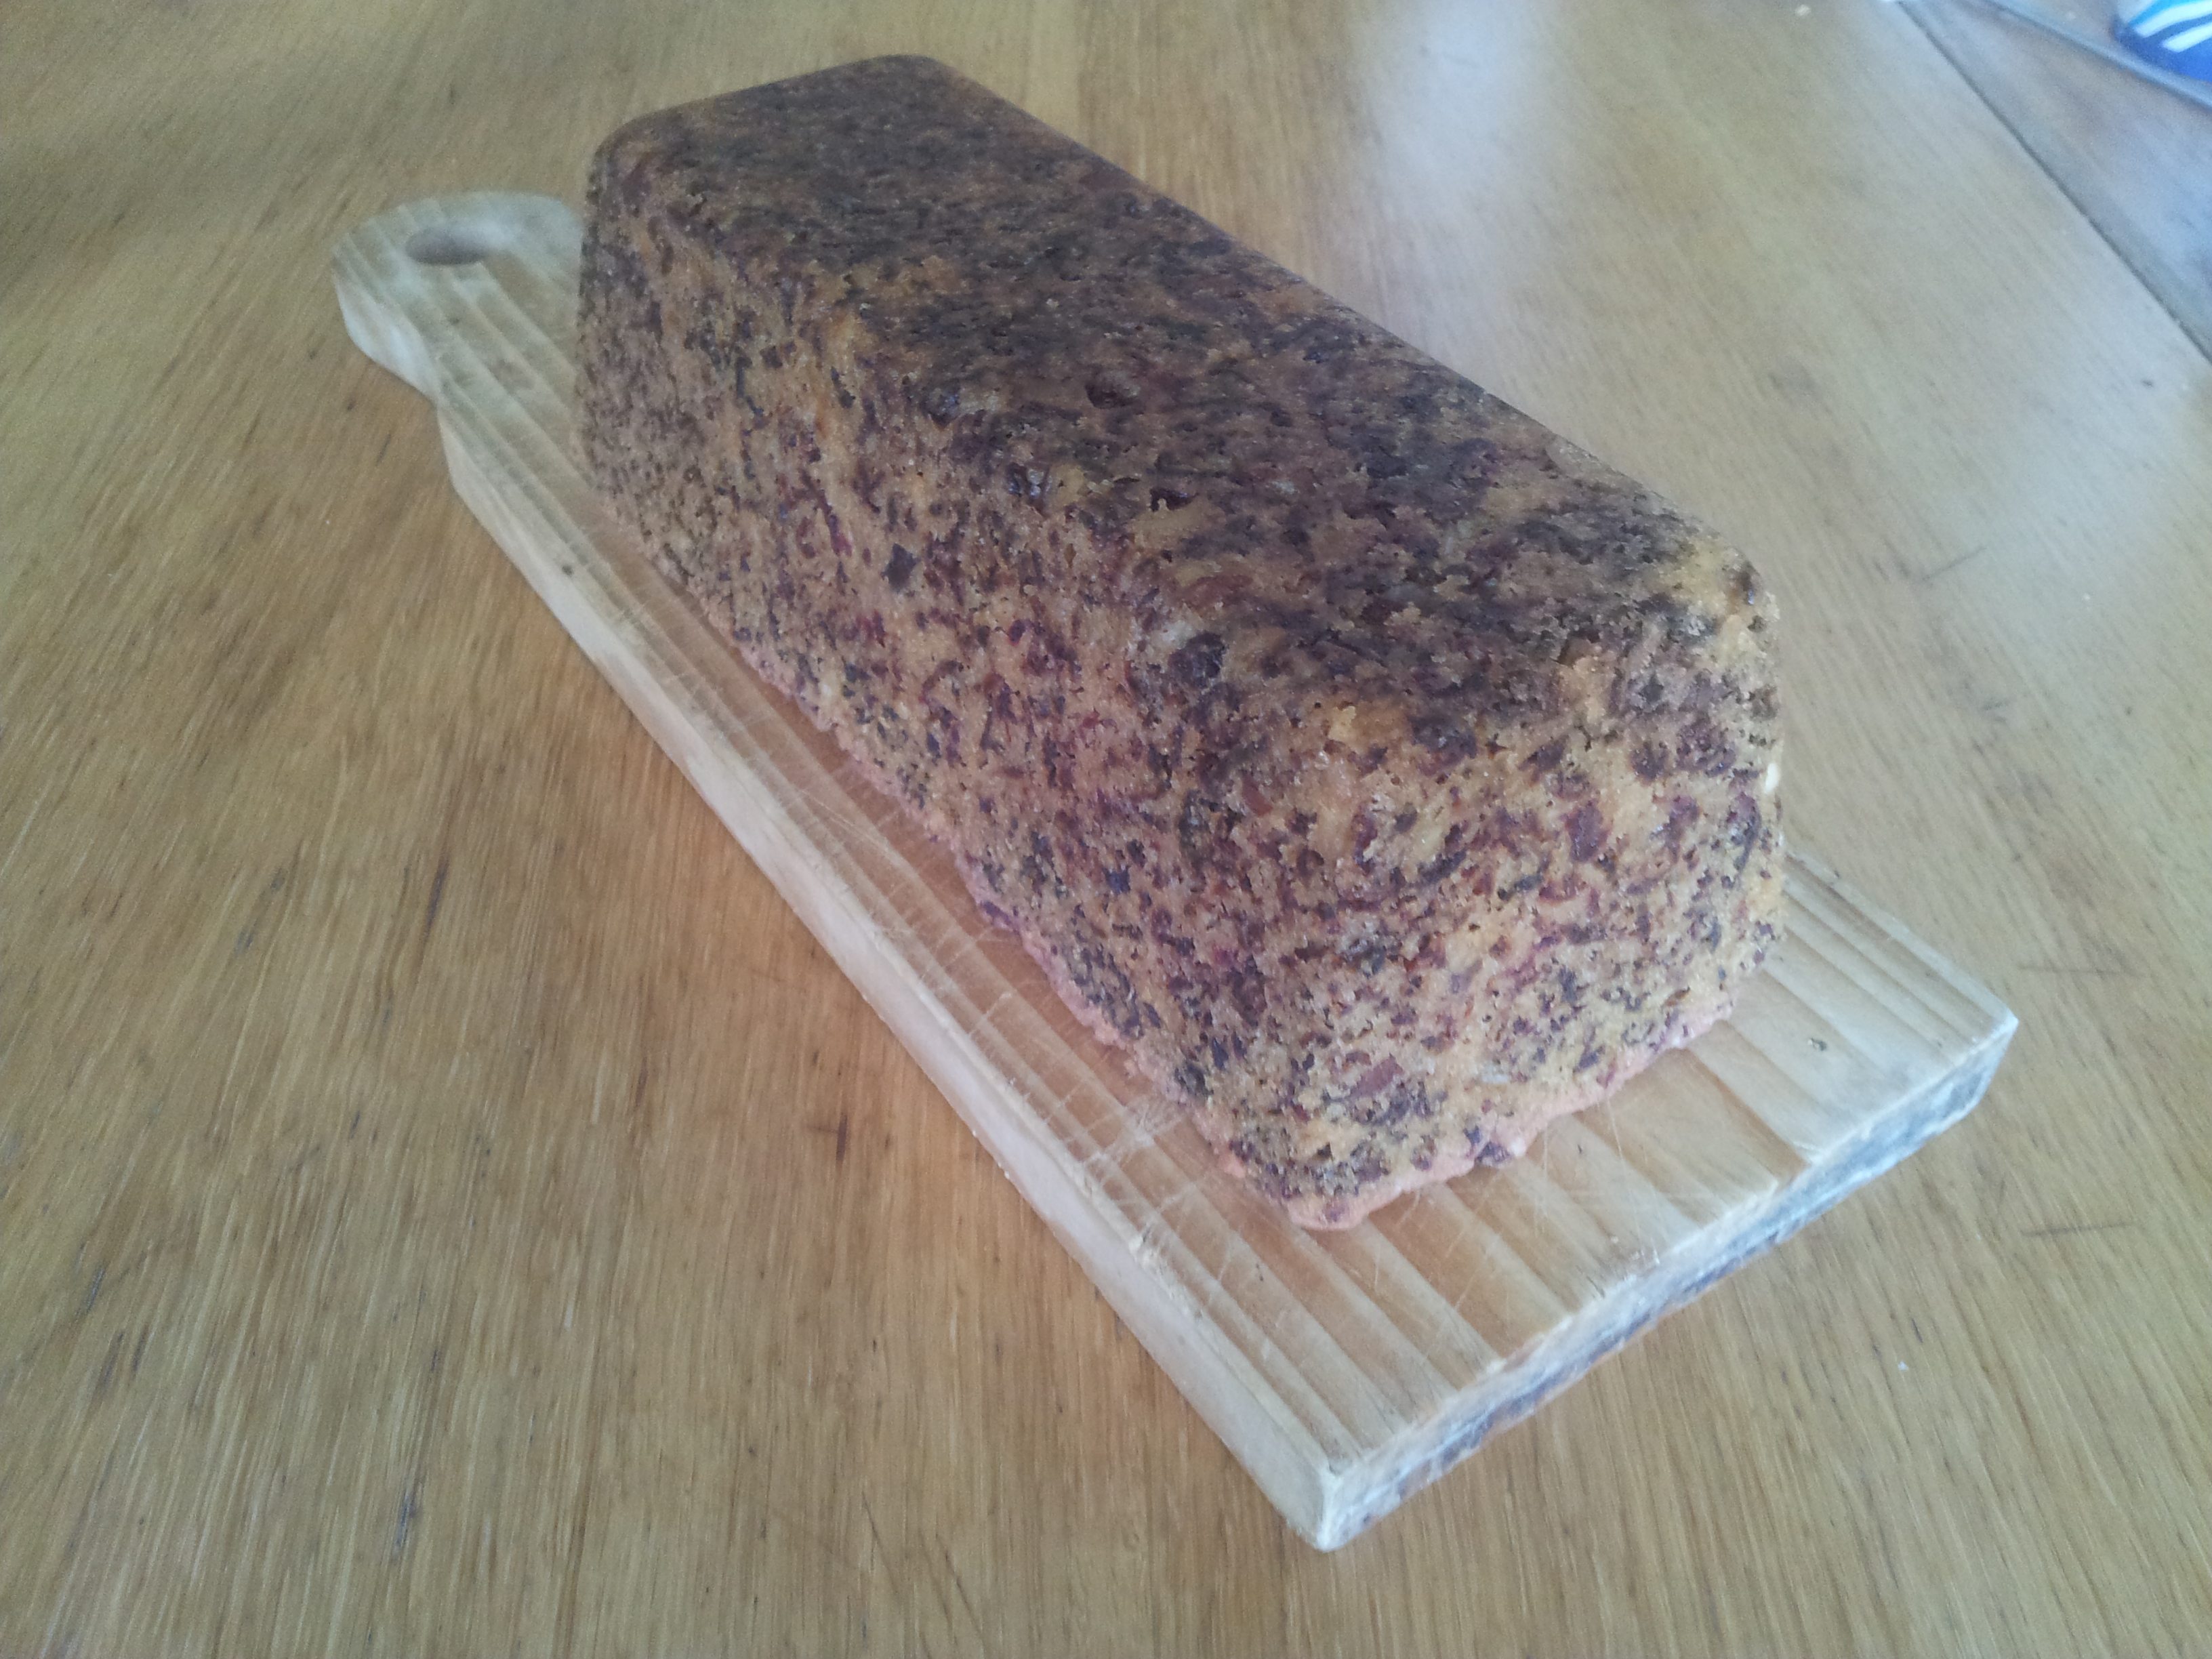
Rejuvelac

EDIT: Warning

Following food poisoning likely related to this product (poorly preserved), I am perhaps too cautious but I publish this article to share several observations. I then leave this article because I think everyone is free to eat what he wants or not. For my part I stop my consumption of Réjuvélac, and I do indeed buy more than sprouts sold in stores (and I’ll do more myself).

Beware though, for the seeds, I insist on the fact that if done in good hygiene and temperature requirements, it is no problem (but once aware of the poisoning, we look twice. ..). However, noted that it was food poisoning are more common since it is “fashionable”.

What you should know:

  • 8 times out of 10, the composition réjuvélac produce more bad than good bacteria (source here)

    “Florida Hippocrates Institute following the footsteps of Dr. Ann Wigmore, finally eliminated the Réjuvelac its health program, not because it is inefficient (it has proved its efficiency for years and still date), but because too many people did not react very well to its consumption. ” Colette, Veg an’Bio

  • If I could intoxicate me, nothing says that the product is not bad in the long term (like eating mold on apples has no short-term effect, but can be harmful in the long term …)
  • Do not consume this product beyond a week (which I think is already too) and well before if it has not been refrigerated

I finally advise:

  • Buy an industrial probiotic (there are obviously no milk!)
  • Pay close attention to hygiene and invest in yogurt (to minimize fermentation time and optimize temperatures)

If you want to scare you, learn, internet often exaggerated but after all, prevention is better than cure!

Well, I have no intention to “scare” but I think once we tasted the joys of intoxication, we do not want to immediately put it back feet …: )

Historical recipe

And here is a surprising microflora! If I use it only to sow my creamery, others drinks it! Attention to sensitive souls, this drink is alive and it feels very, but very, strong!

Ingredients and utensils:

  • A 500ml jar (1 liter), a handkerchief and a resilient
  • 3 shaved” tablespoons of wheat germ (preferably organic)
  • Water (I use the tap water but I‘m the only one I read bloggers doing)

Preparation:

  1. Soak the wheat germ until the a growth appears
  2. Coarsely crush the grains (it will give more flavor to the preparation)
  3. Place the beans in the jar and cover with water
    2015-02-02 20.03.43
  4. Close the jar with the handkerchief and the elastic (the preparation must remain in contact with the air, but not with insects ^^)
    2015-02-02 20.04.32
  5. After 3 days, remove the seeds and use your preparation

Conservation:

In the fridge, with the jar lid, no more than a few days.

Do not reuse the jar without cleaning.

Genoese – rolled biscuit

Base of cakes floors and indispensable for a white chritmas : here are genoese AND rolled bicuit.

Addendum: well, yes, genoese is a biscuit: light, sparkling and dry! (but you can cook it less dry: it’s allowed ^^)

Two recipes? Hey! no, one recipe but two techniques.

Ingredients :

  • 50g of chickpea’s white
  • 1/2 teaspoon of guar gum
  • A few drops of lemon juice (or tartar cream)
  • 30g of purthine : 10g oilseeds puree, 20g soy cream
  • 50 g of sugar
  • 50 g of flour
  • 1/4 teaspoon of baking powder (it may be an option, but I never cooked genoeses without it)

Preparation :

  1. Mix flour and baking powder on one side, oilseeds’ puree and soy cream on an other (purthine)
    2014-12-18 20.34.12 2014-12-18 20.35.59

  2. Whipp the white, add a few drops of lemon juice when the white whitens, then add sugar (take care of not whipping too much, it has to keep a “liquid” texture, in order to manipulate the genoese before cooking)

  3. Mix tenderly with purthine ans flour/baking powder
    2014-12-18 20.37.00

For a genoese:

  1. Pour into a mold, smooth the surface and bake immediately
    => Silicone mold, or molde veeeeeery buttered

For a rolled biscuit:

  1. Spread into a rectangle shape on a plate lined with parchment paper or a silicone plate
  2. Smooth the surface (about 8mm thick) and bake immediately.
    The more solid is the paste, the more difficult is operation. My technique also consists of (my own paste is often too fitted, I do not know why to follow my own advice…):

    1. Cover with a second sheet of parchment paper and massage” roll (or with any flat object)
    2. OR: fold paper in half, “massage” it, roll and slice both edges with a chisel, knife, cutter (this solution is very convenient for a rectangular shape when you don’t own a mold for this)
      2014-12-18 20.42.28

Cooking :

180°C, 30 minutes

To know if biscuit is baked, knife should come out dry!

For a genoese :

  1. Unmold warm and wait until the cake is cooled to cut and garnish it

2014-11-16 12.15.02

Genoese (returned)

For a rolled bicuit:

  1. Before leaving the oven, place a dish cloth, lightly moisten
    2014-12-18 21.15.26

    1. Unmold till it’s hot, keep off papers (help yourself whith a flat spatula)
      2014-12-18 21.17.21 2014-12-18 21.18.17
    2. Roll biscuit, quite tight
      2014-12-18 21.19.50 2014-12-18 21.18.57
  2. Wait for a complete cooling
    1. You can now garnish your biscuit (it won’t crackle with this technique)

 2014-11-18 13.50.14 2014-11-18 13.52.52

Old stories: my first rolled biscuit, undercooked, certainly, but very curvy! 🙂

Oh, and if you run out of ideas for garnish, here is an ultra simple ganache!

Ingredients:

  • 80g dark chocolate 70%
  • 80g Soy cream
  • 20g Coconut oil (or less)

Preparation:

  • Break the chocolate into pieces
  • Combine chocolate, cream and butter
  • Cook three times at 400W, 30 seconds in the microwave, stirring well each time (or gentle stewing)
  • Let it cool. Then you just have to stick it in a rolled cookie 🙂

2014-12-18 22.33.07 2014-12-18 22.35.54

Note: Yes, I did not cut the edge of biscuit: think about it! (…)

Note 2: yes, I am not very delicate, so be it! (especially while rolling ^^)

Biscuits and boudoirs

Biscuits’ characteristics:
  • Soft and airy texture, slightly crispy surface
  • Sugaring icing sugar on top

2014-11-13 19.33.12

Boudoirs’ characteristics:

  • Crisp and dry
  • Sweetening granulated sugar on top

2014-11-15 22.44.21

Ingredients:

  • 100g chickpea’s white
  • 1 shaved-packed teaspoon guar gum
  • 100 g caster sugar
  • 65g purthine (25%/75% mixture of oleaginous puree and soy cream) *
  • 100g faricule (50/50 mixture of flour and starch)
  • Sugar powder for the filling/packing for Crystallized Sugar

* I use toasted almonds‘ puree

Preparation:

  1. Preparation of the kitchen
    1. Preheat oven to 180 ° C
    2. Mount the white snow with sugar 30g
  2. In another bowl, prepare the purthine, then add the remaining sugar. Working in whip
  3. Gently stir purthine in white and flour (spatula)
  4. Put the dough into the pastry bag (No. 10) and train boudoirs
    1. Technical profile: on a grid, the paper Sulfu (air pass beneath the cooking)
  5. Sprinkle generously with icing sugar / of crystallized sugar. Wait 10 minutes / Leave crust
    1. Between the powder cakes can be reused
  6. Once absorbed, to powder and bake immediately

2014-11-15 22.10.18

Cooking:

180 ° C, 30 minutes

  • After 10 minutes, they doubled in volume
  • After 30 minutes, I remove them (more or less, depends on oven and if I prefer those crispy or soft)
  • Let cool a few minutes
  • Peel off parchment paper and place on a rack to finish drying

Variations:

  • Use white mounted on the Swiss (50 ° C)
  • boudoirs finish cooking on the grill to create a caramel …
  • pink dye to the boudoir, recreating the biscuit of Reims!

Conservation:

Preserving quickly enough moisture (when they cooled) in a box of iron or sealed (I put rice under a paper towel at the bottom of my box).